The MindWare applications are designed to work seamlessly with data acquired from MindWare data acquisition equipment – however it is also possible to view/analyze data collected by 3rd-party instruments using a tool called the ASCII-MW converter. This article is intended to show how to use the tool in general. For more specific examples, try searching the Knowledge Base for the instrument or file type you are trying to import.
Note: MindWare analysis application can directly read AcqKnowledge (.acq) files. Please see this article for more information on analyzing this file type.
Launch the ASCII-MW Converter
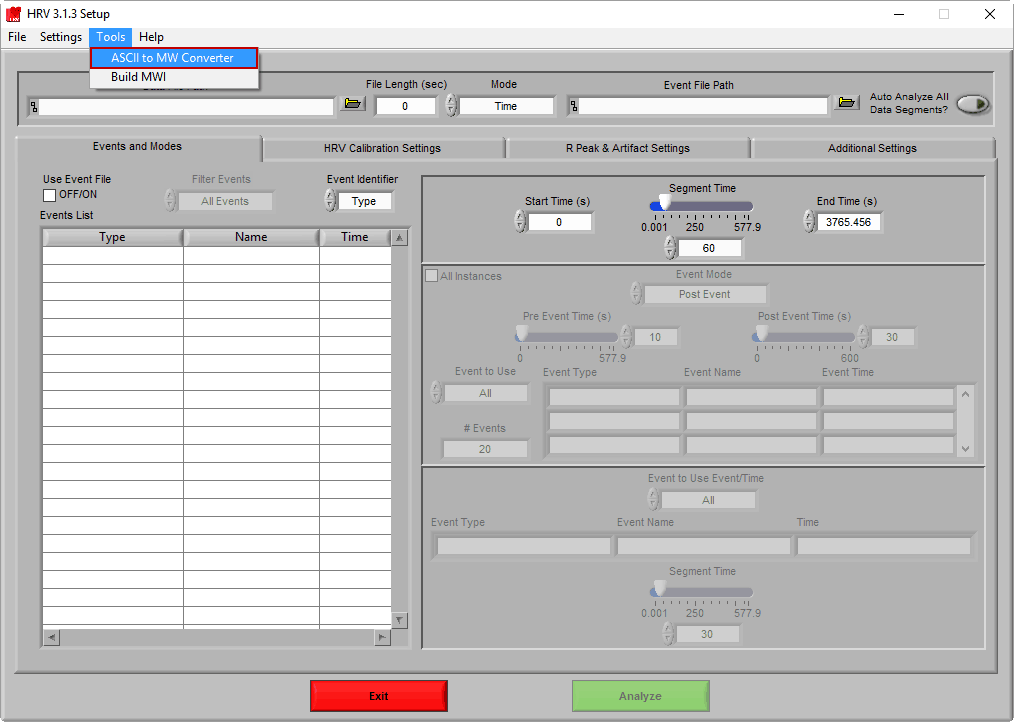
The ASCII-MW converter is available from the Tools menu option in all MindWare applications.
The first step in converting a file is selecting the file you wish to convert. There are 2 main requirements for the type of file that can be converted:
- The file must be text-based, and use only ASCII characters
- If there are multiple channels of data in the file, they must be separated by either a space, comma, or tab delimiter
- All channels in the file must be sampled at the same sampling frequency
Select ASCII-MW Converter from the menu to launch the tool. Once launched, select the file you wish to convert.

Conversion Wizard
Assuming the file meets the above criteria, press the Convert button to proceed to the Conversion Wizard.
Now you need to configure the wizard according to the way the data is stored in the file. The following information must be determined from the manufacturer of the equipment which produced the file in order to properly convert it:
Data Type – Whether the data is stored in volts (or some unit of measure that was derived from volts) or A/D counts.
- Volts – Select this Data Type if your data has been stored in volts or any variation thereof (millivolts, microvolts, etc.) or if the data is stored in the appropriate units for a particular measure. Some examples of these include:
- Microsiemens (uS) for EDA
- Ohms for Z0
- Ohms/Sec for dZ/dt
- mmHg for Blood Pressure
- Counts – Use this data type if your data is stored in raw digital counts from the Analog to Digital Converter (A/D). Counts would be stored as integer values with precision equal to the resolution of the A/D.
A/D Resolution – This setting is only used when your Data Type is Counts. Specifies the precision of the count values in the file, and used along with VFS to translate them to voltages during conversion.
VFS – This setting is only used when your Data Type is Counts. Specifies the Volts Full Scale of the device which acquired the data. This is used in conjunction with the A/D Resolution to translate the counts to voltages.
Sample Frequency – The rate at which the data in the file was sampled during data collection. As stated previously, all channels in the file must be sampled at the same sample frequency. This value is crucial for determining segments of time within the data file.
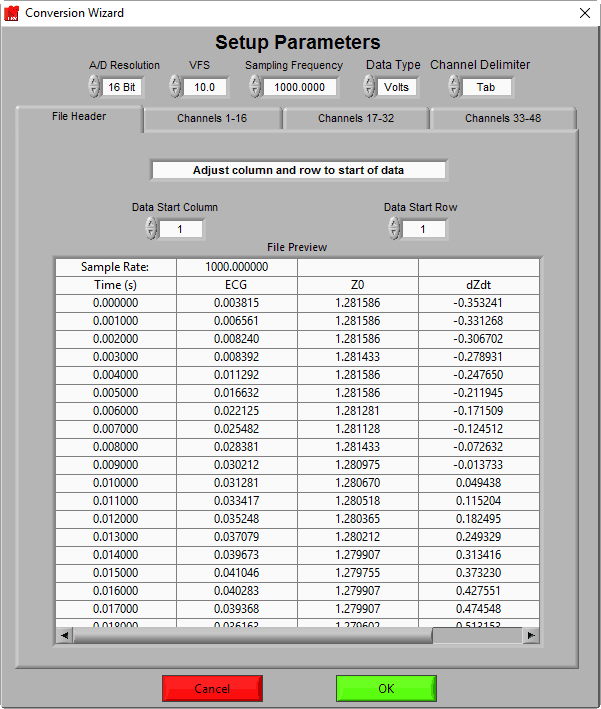
Channel Delimiter – The ASCII-MW converter supports files in which data samples are separated by either a space, tab, or comma character. This setting is used to specify that separator. For example, the current file we have opened is tab delimited.
We can see the samples for each channel are separated properly into columns that align with the channel headers which happen to be present in this file. Now if we were to incorrectly specify the Channel Delimiter as comma –
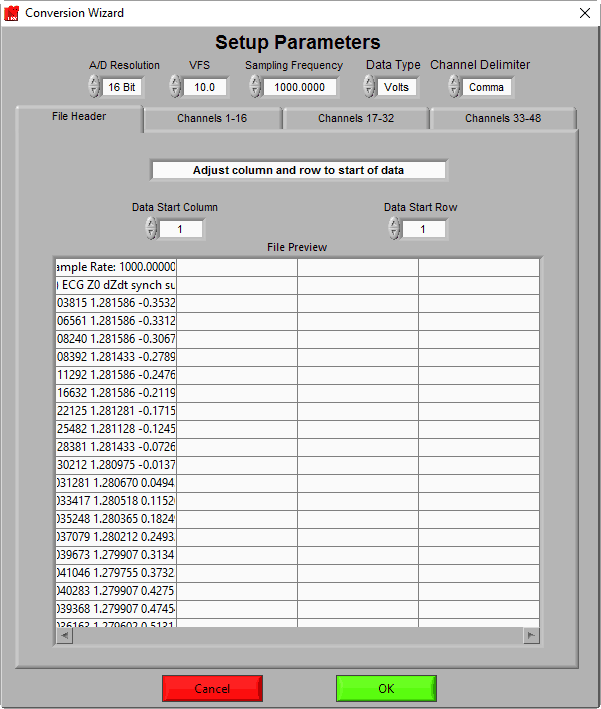
The data is not properly separated into columns for each channel, and will not be converted properly.
File Header
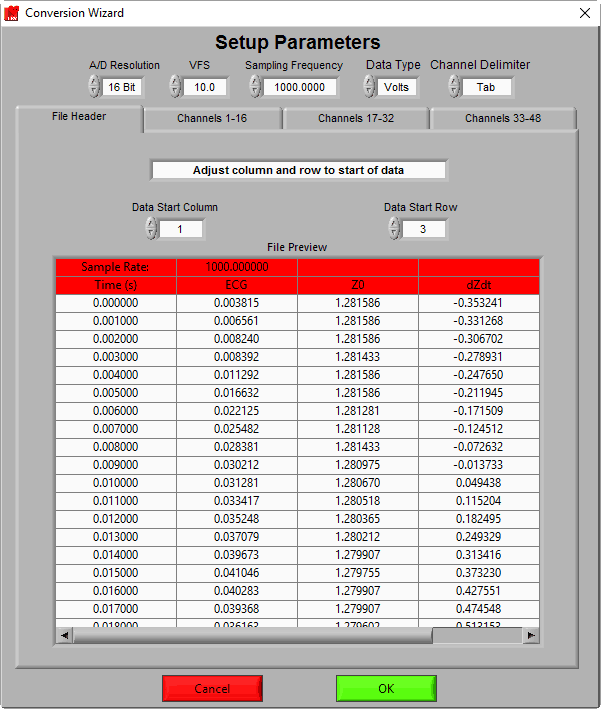
Next, you need to tell the Conversion Wizard the exact start location of data samples you want to convert. This is done by adjusting the Data Start Column and Data Start Row values until all header and extra information has been excluded. For our example file, there are 2 rows of header information that we want to ignore. By adjusting the Data Start Row to 3, these rows are excluded:
Data from the left-most columns can also be excluded. Here we have a column that specifies Time, which is not useful in MindWare analysis applications. By adjusting the Data Start Column to 2, that column can be ignored:

Channel Settings
Channel-specific settings are stored on the subsequent tabs. For our example file, there are 4 channels of data
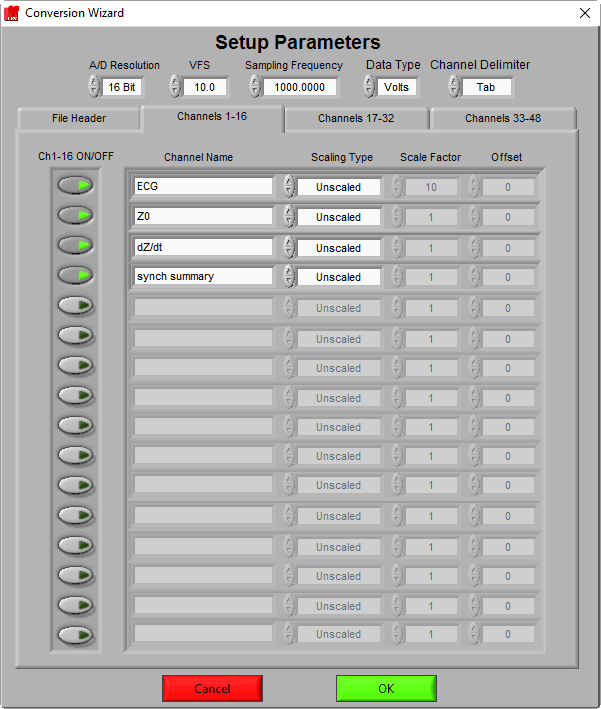
On this tab, the ON/OFF button selects a channel, or column of data, to be imported. Turning on a channel will enable specific settings for it:
Channel Name: This should be filled in to give a name to the data channel which identifies the type of data it contains. This name will be how the channel is referred to in all MindWare applications from this point forward.
Scaling Type: MindWare files store data in volts. If the data coming in is in volts, then the Scaling Type should be set to Unscaled. If the data is in some variation on volts (millivolts, microvolts, etc.) or it is in some other unit of measure all together, the data needs to be scaled to volts prior to being storing in the MindWare file. First, change the Scaling Type to Scaled to enable the scaling parameters.
The Scale Factor and Offset parameters correspond to m and b in the slope intercept equation
y = m * x + b
respectively. In this equation, y represents the signal as it is stored in the current file, and x represents the data in volts.
For example, say you are importing an impedance (Z0) channel which has been scaled at 10 ohms/volt. You would first set the Scaling Type to Scaled, and then set the Scale Factor to 10. Since there is no offset applied to your data, you would leave Offset at 0. This scaling of volts to ohms will be re-applied when opening the data in the Impedance analysis application.
Depending on how your data is currently stored, use these values to scale the data to “volts”, or at least to a range which could be considered voltage in a MindWare file, +/- 5V. Values outside of the -5 to 5V range will be clipped and so it may be necessary to scale down data during import and scaling it back up during analysis or viewing.
Note: Remember these values, as they will be needed to scale your data back to the appropriate units in the MindWare analysis applications.
Convert & Open File
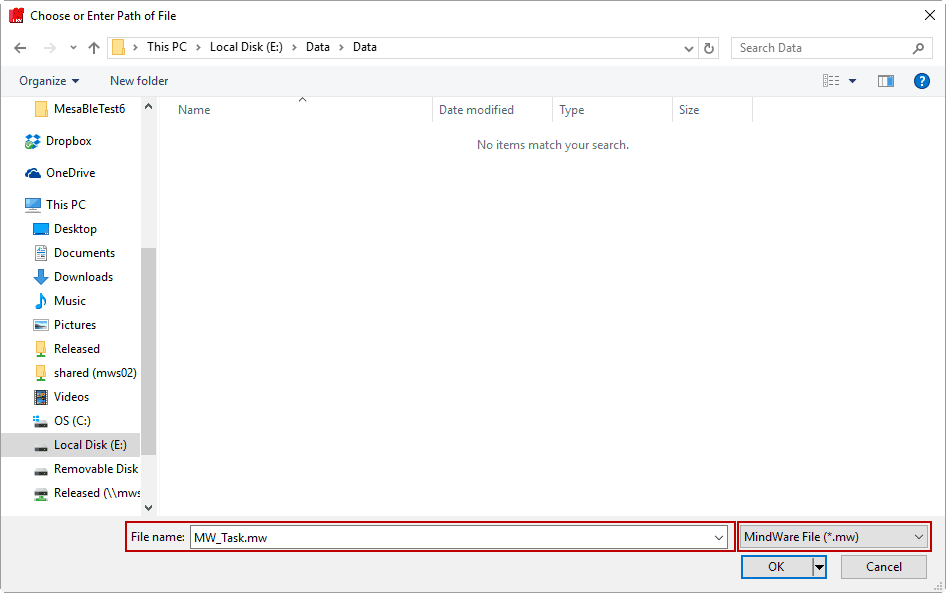
Once the conversion wizard has been properly configured to import your data, press the green OK button at the bottom of the screen to complete the conversion. You will be prompted to select a file name for the resulting MindWare file.
When the conversion finishes, you can open the resulting file in any of the MindWare analysis applications or BioLab.
Note: If the data in the resulting file does not look the way you would have expected during analysis, double check that all of the correct parameters have been set in the Conversion Wizard.