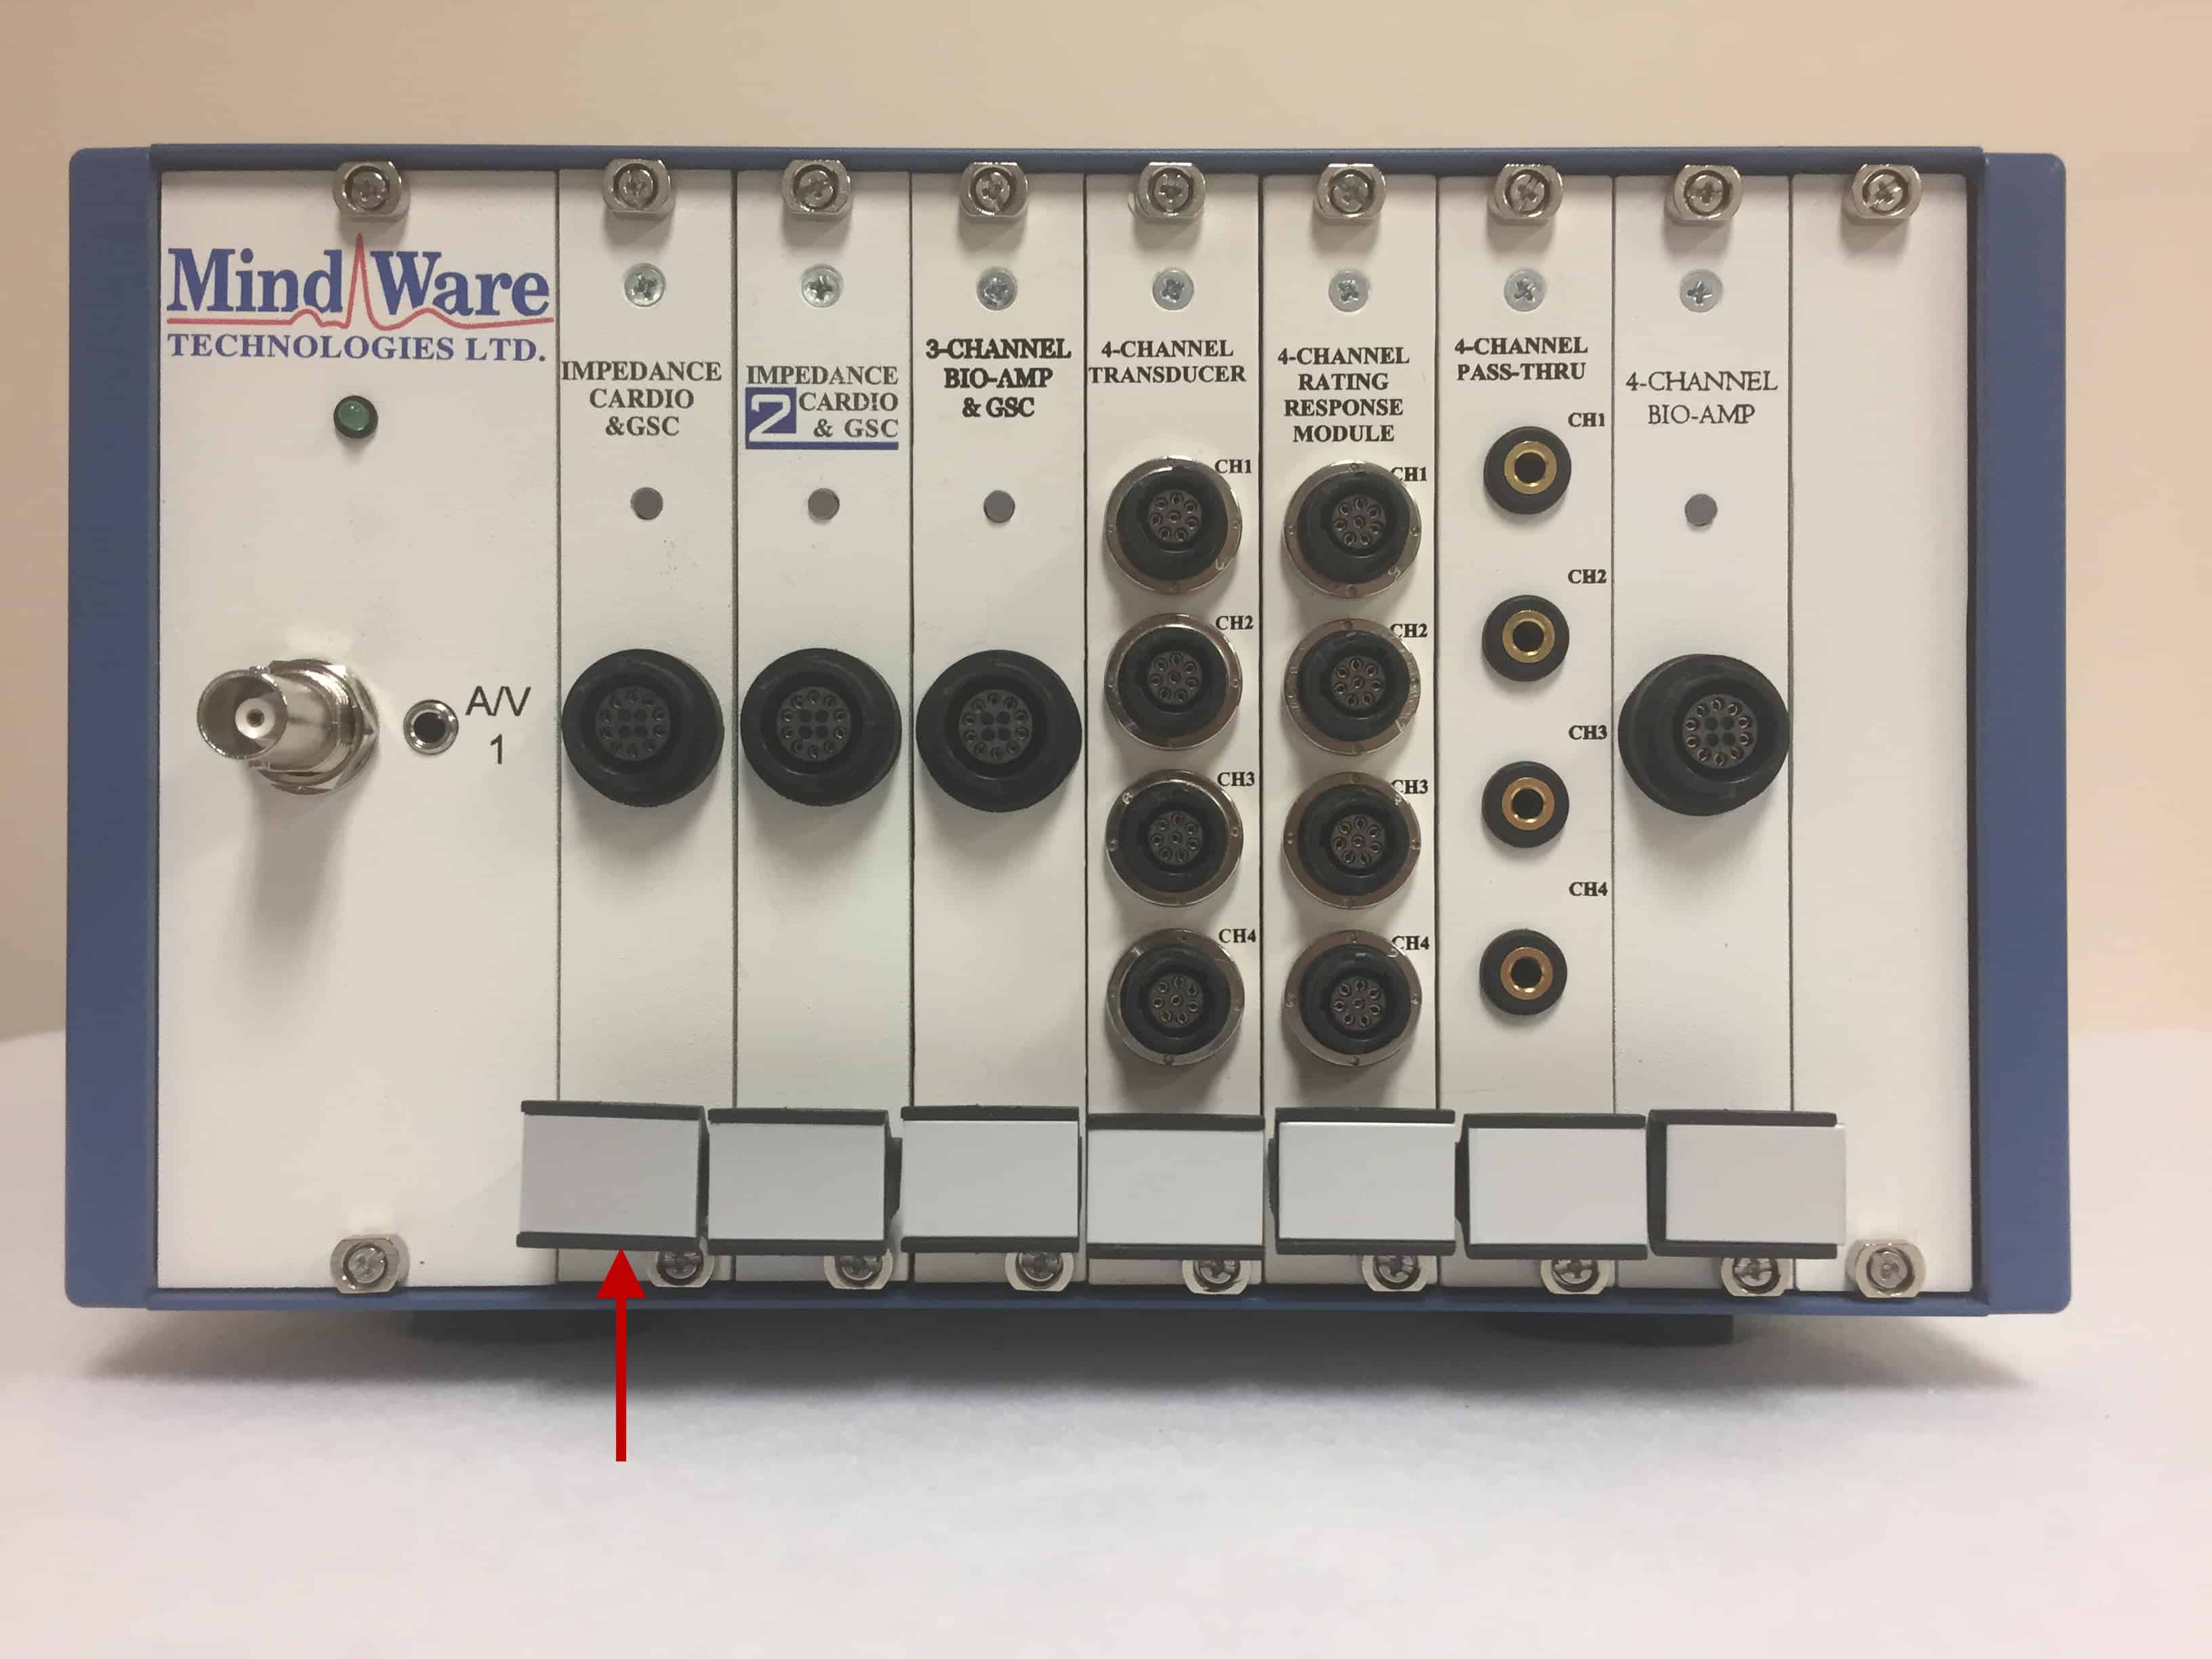
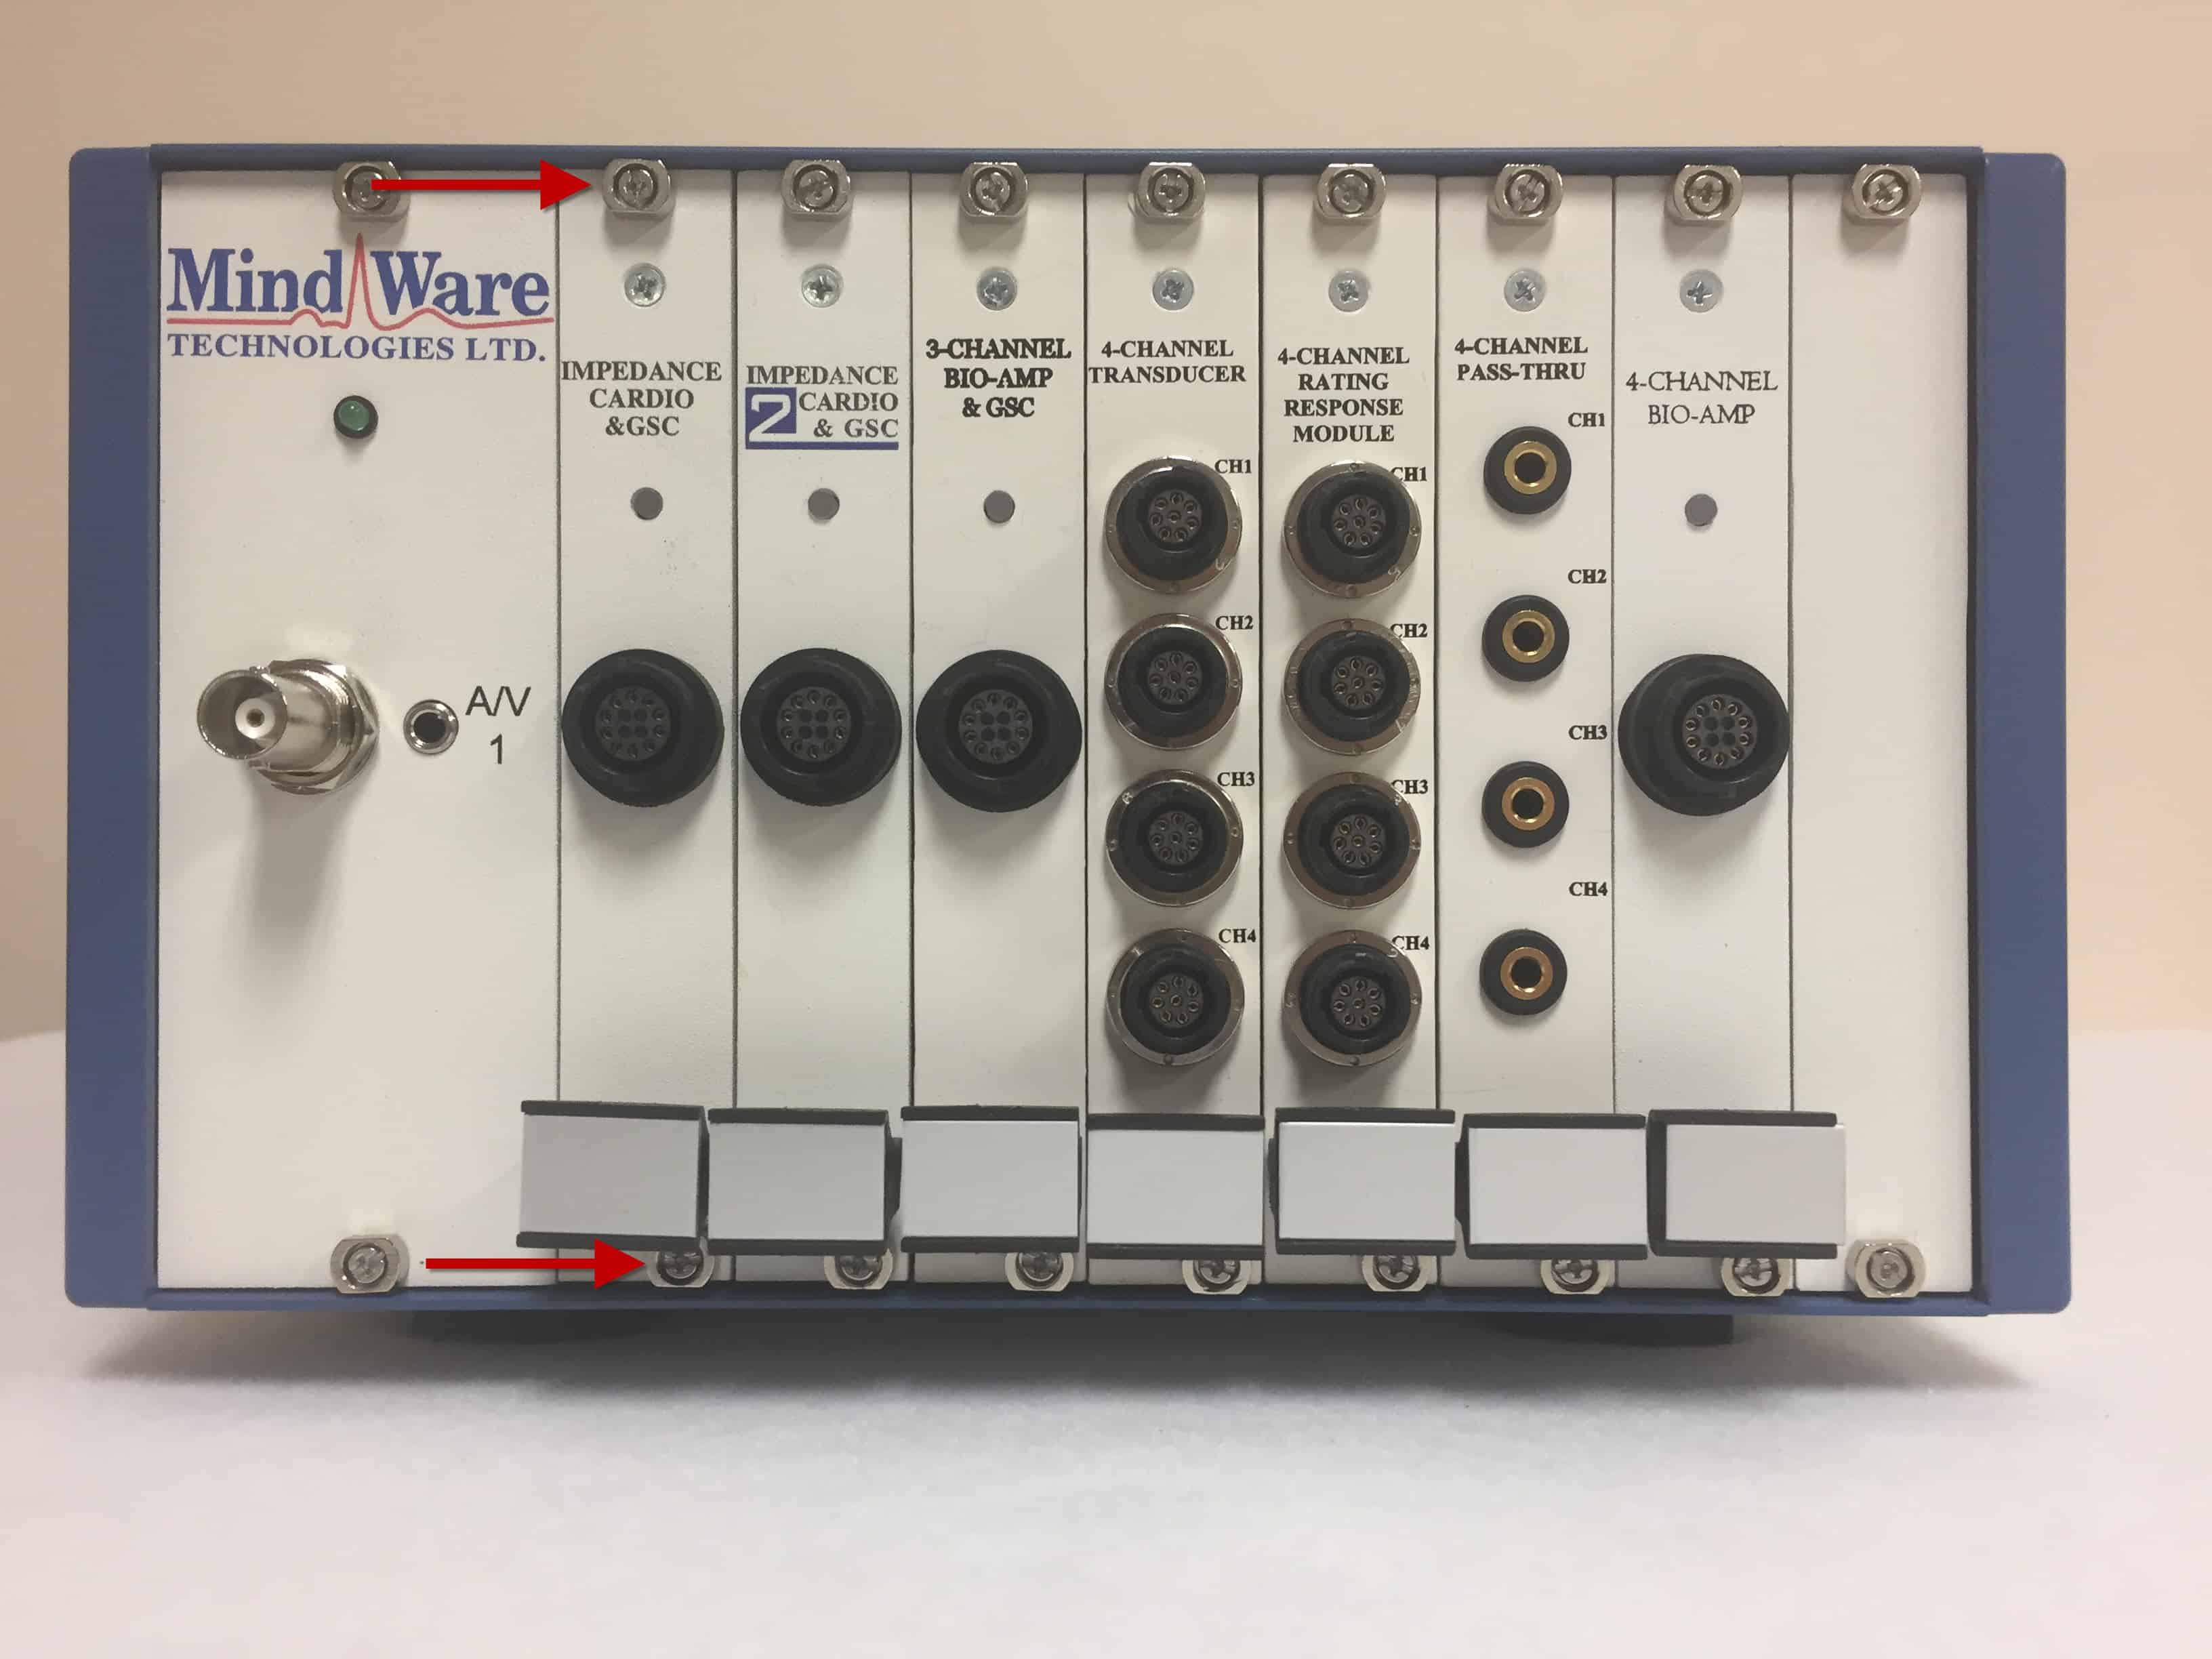
The MindWare BioNex system for data acquisition is made up of modules, each of which are designed to collect a specific type or set of signals. This article details how to identify, uninstall, and install a module in the BioNex.
Identifying a module
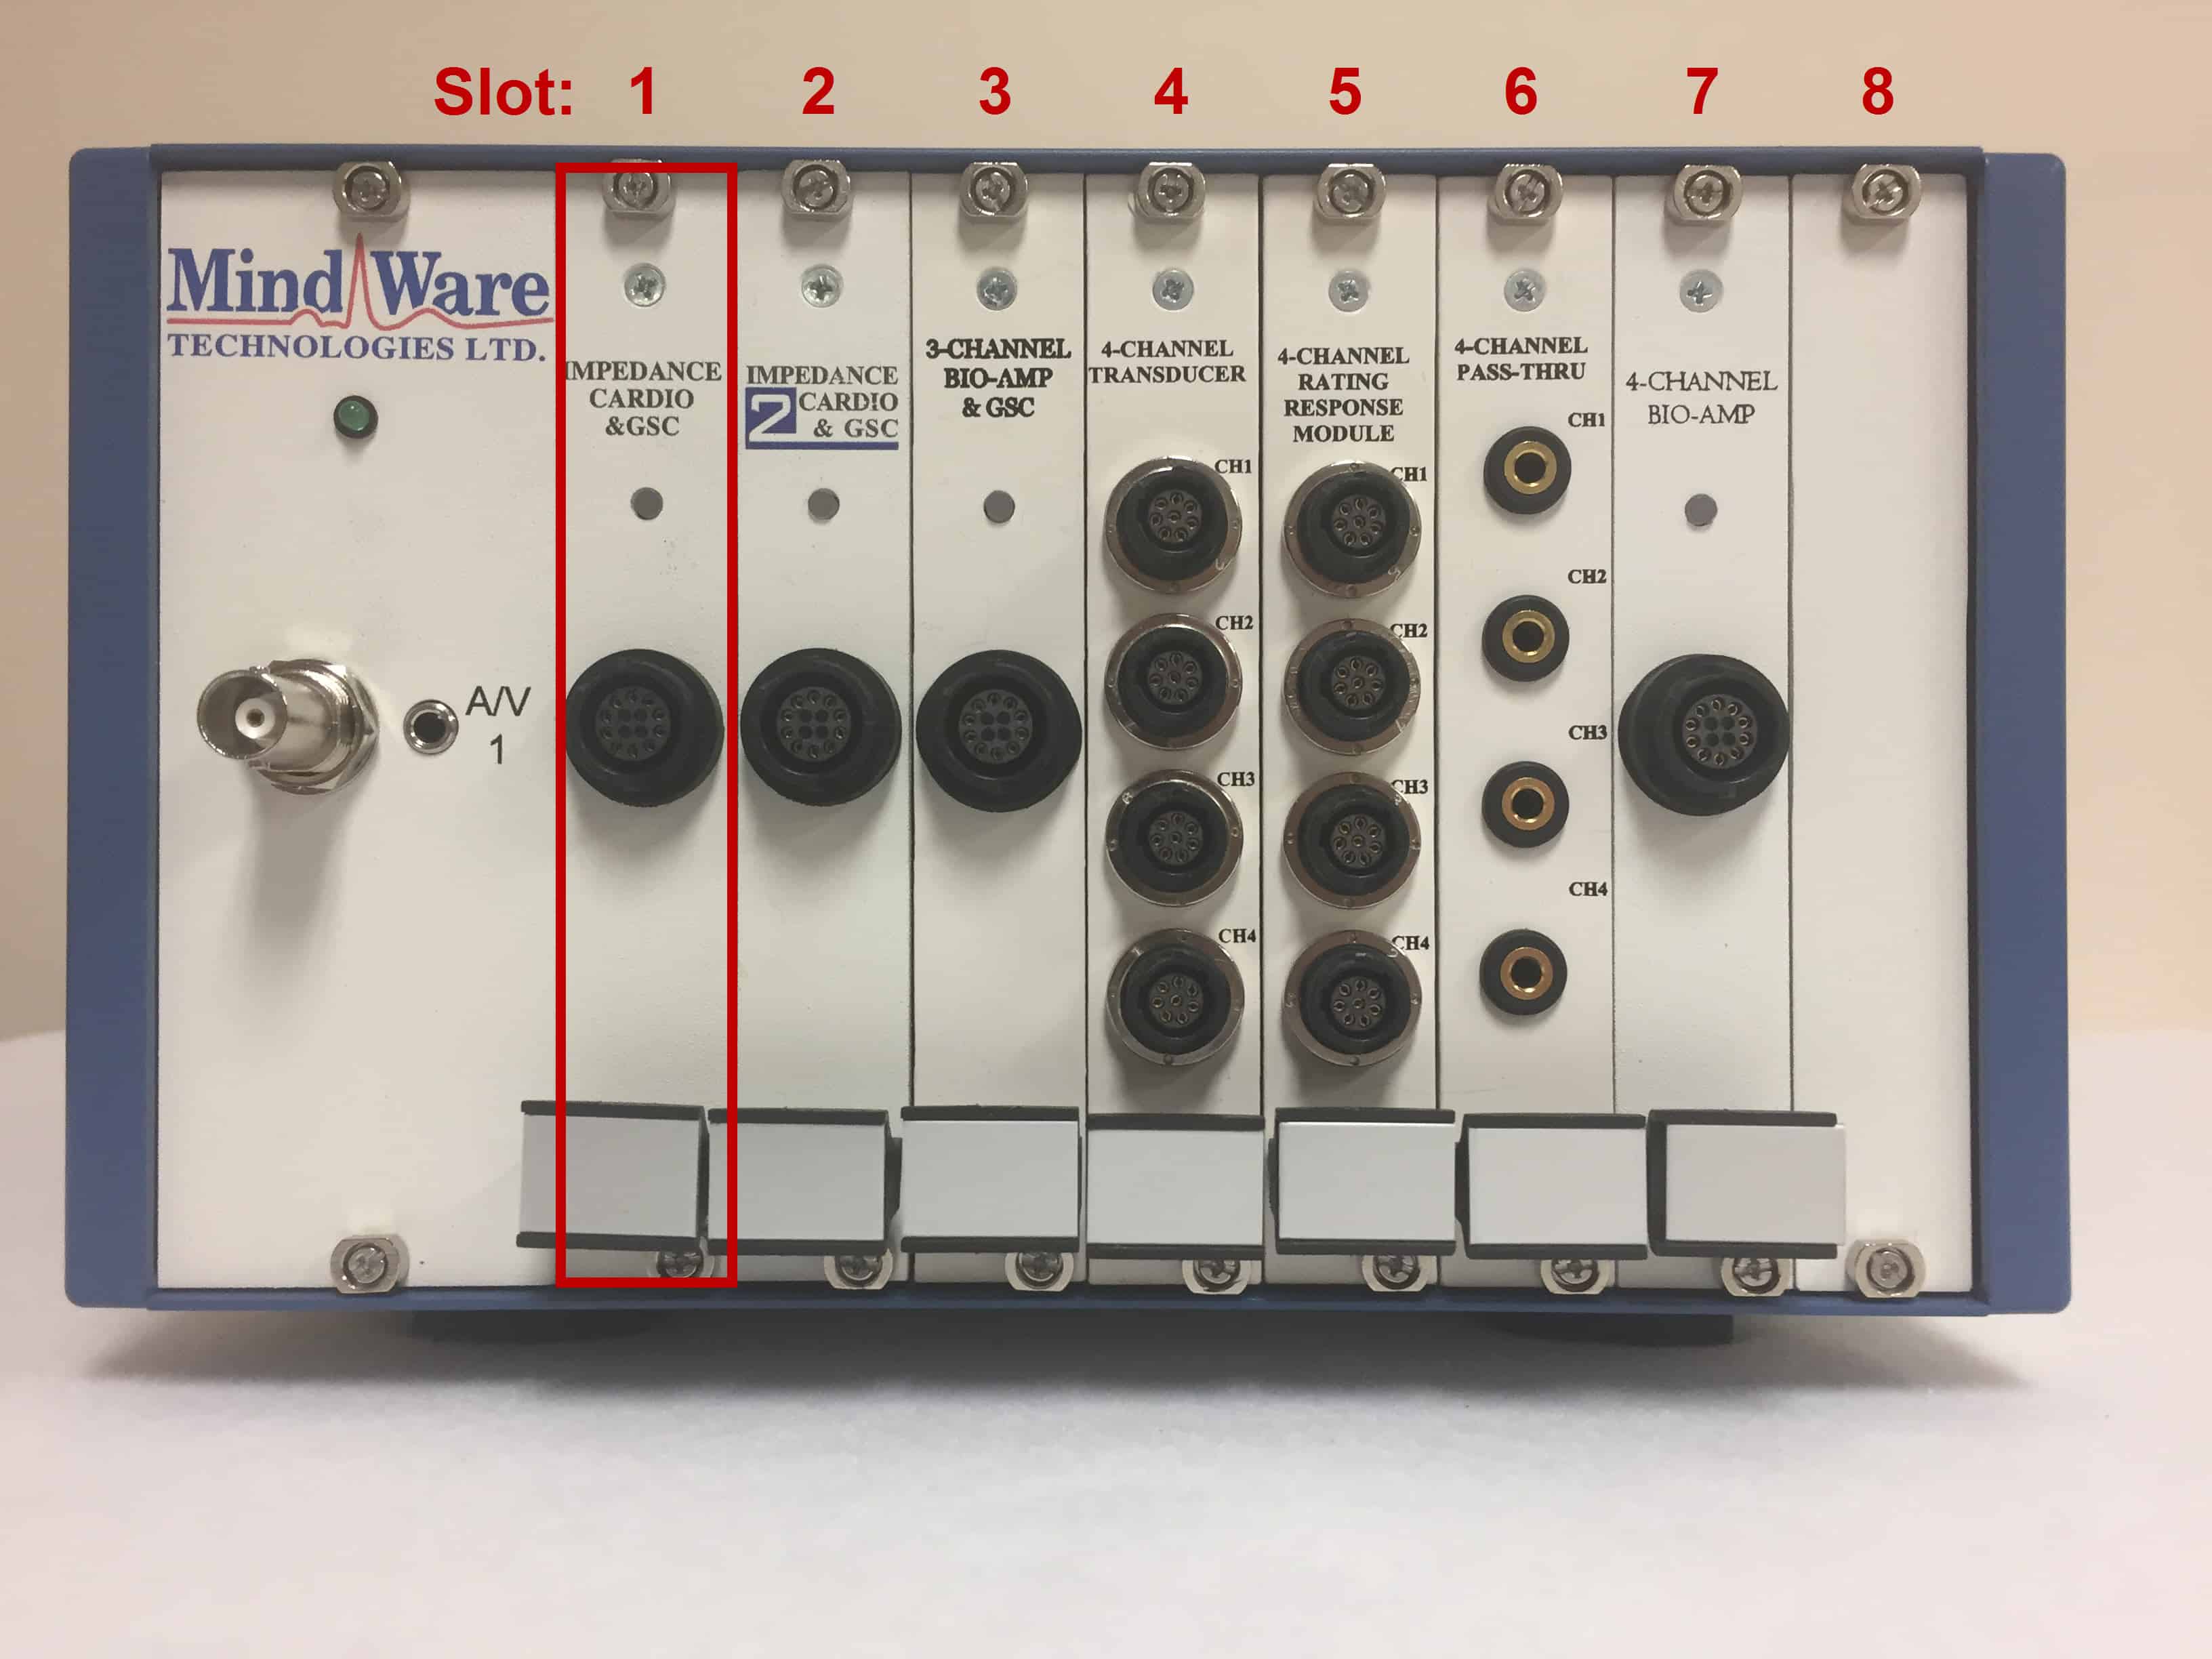
Modules are inserted in the front of the BioNex in slots, which are referred to by slot number with slot 1 referring to the left most module. Each module consists of one or more connectors for signal input, which vary based on the signals collected. Modules can also referred to by name, which is printed on each of them.
Note: The pictures in this article depict the 8-slot BioNex, but the procedure is the same for the legacy 2-slot BioNex.
Uninstall a Module
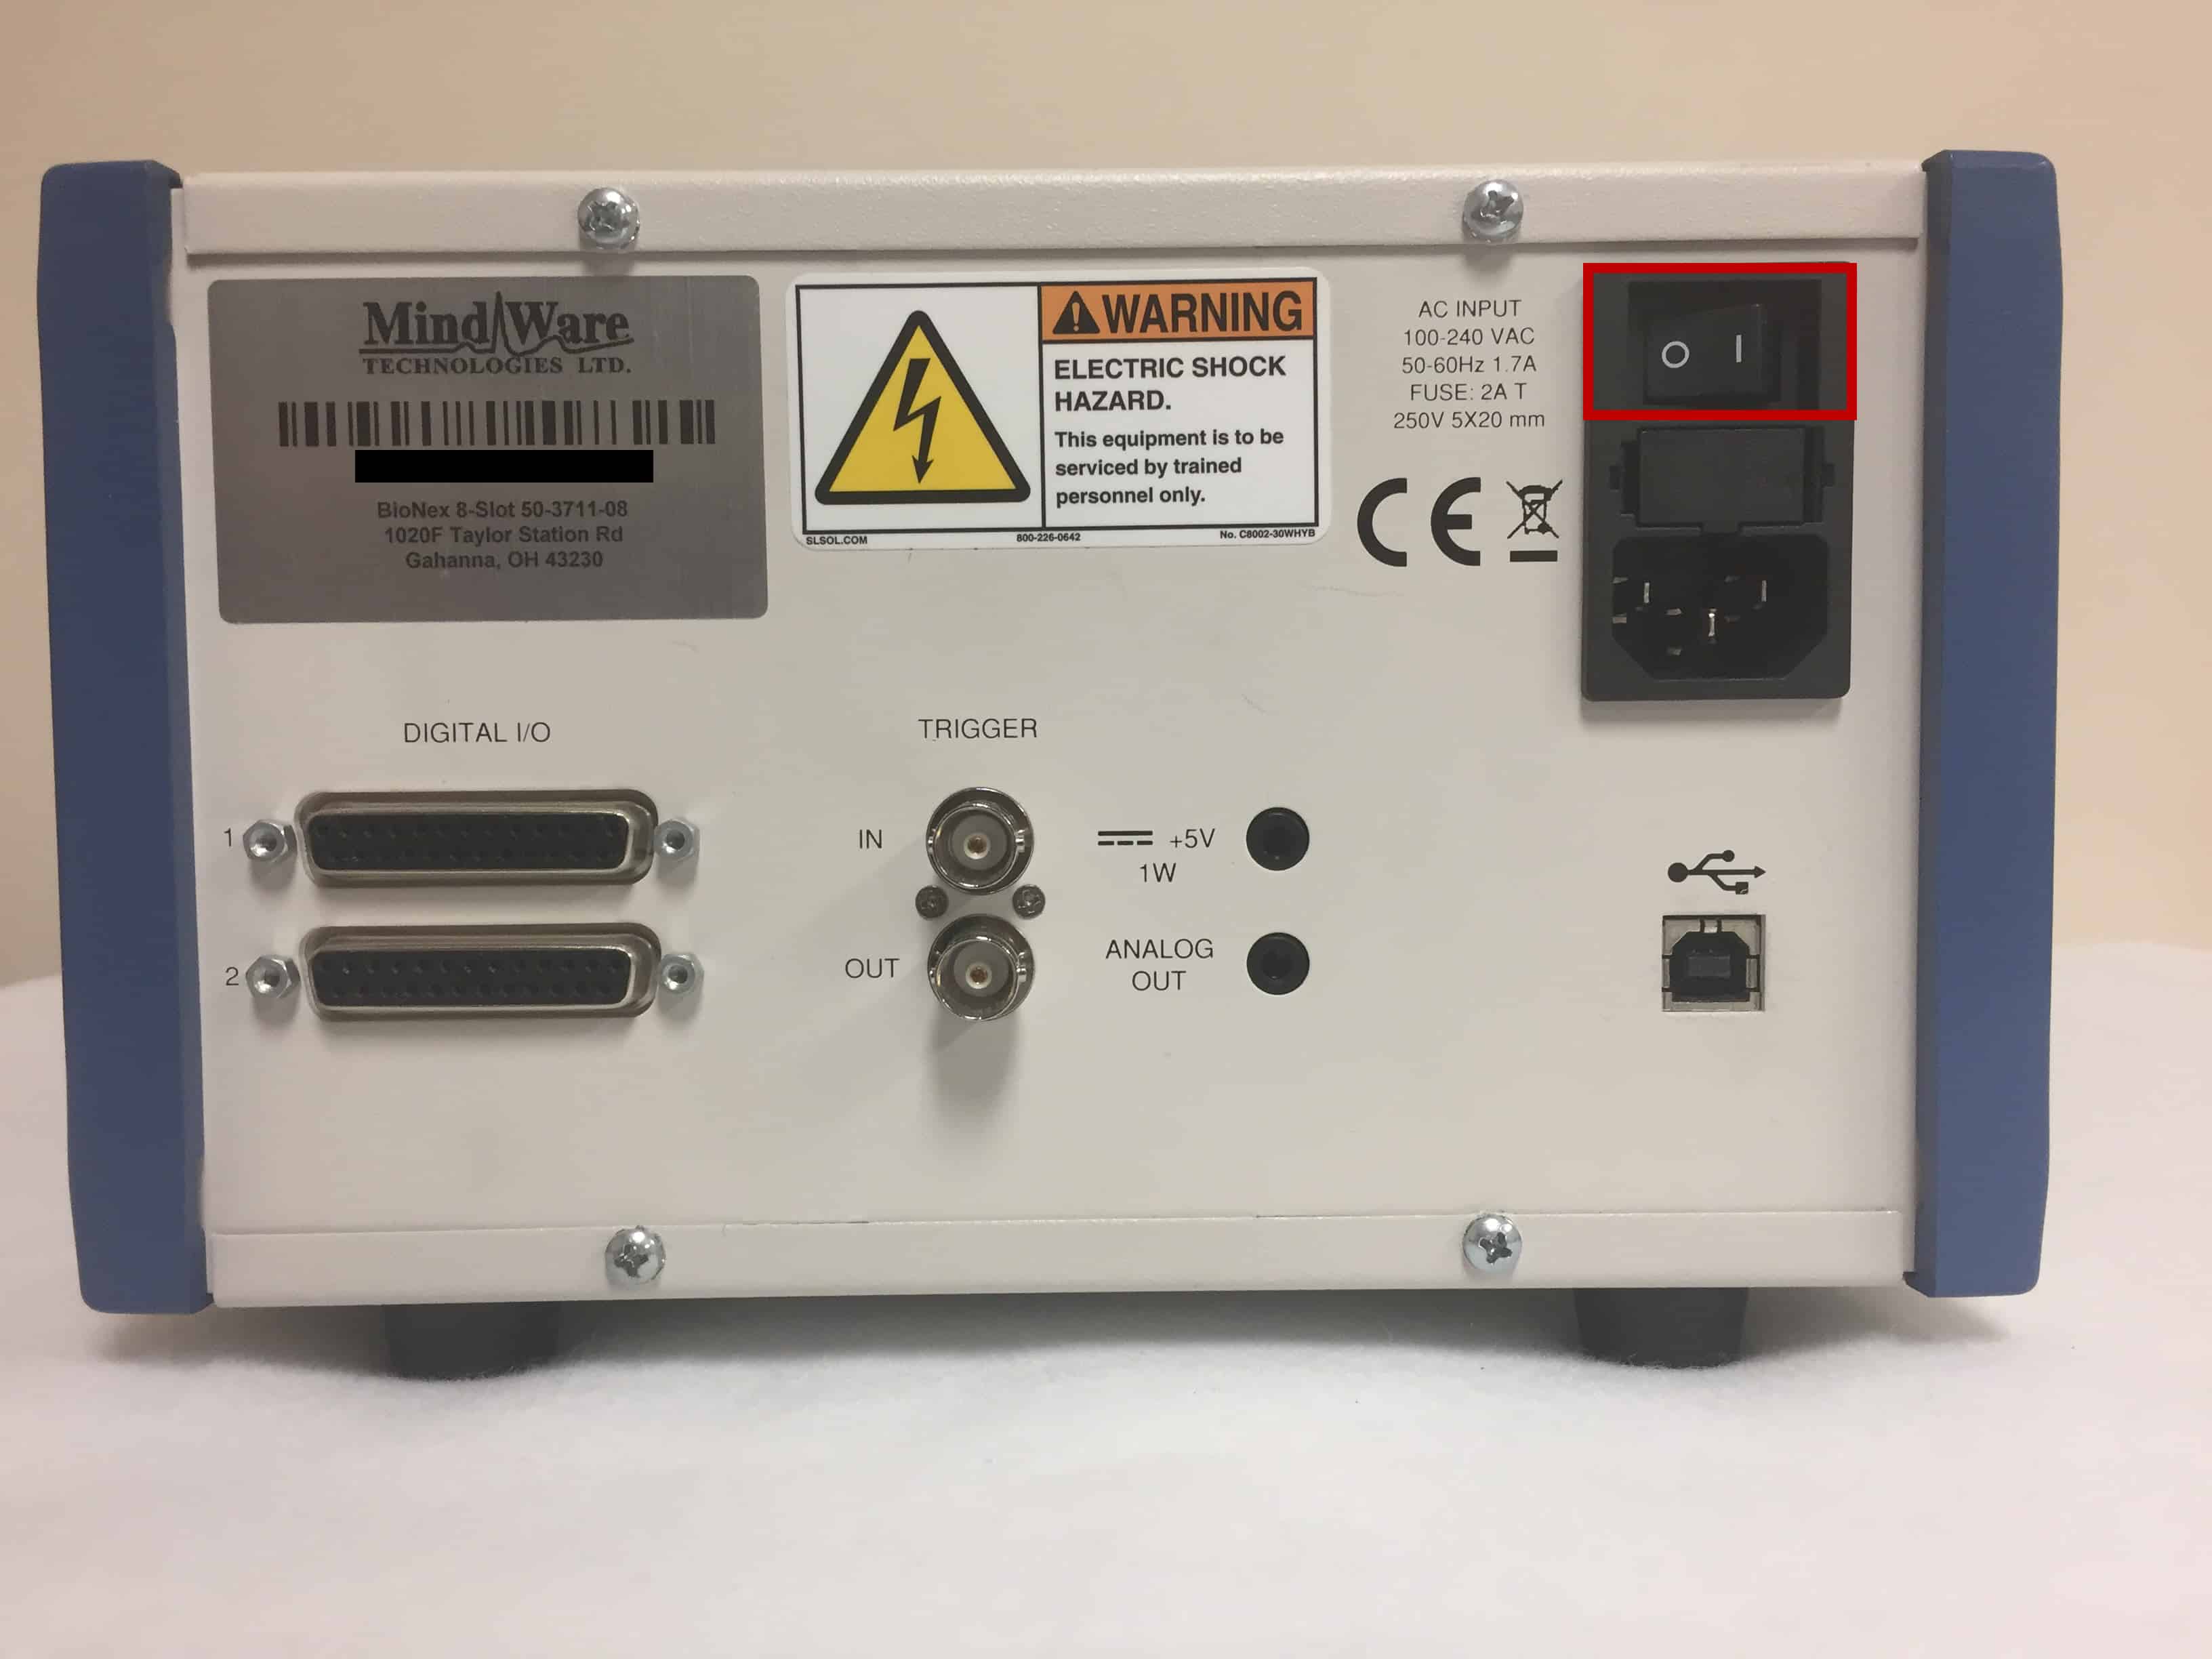
To uninstall a module, you need a Phillips or flat-head screwdriver, depending on the generation of your hardware. First, turn off power on the BioNex using the switch located on the back panel.
Next, use a screwdriver to loosen the screws on the top and bottom of the module. The plastic or metal housing around the screws will prevent them from falling out of the module.
Next, push down on the ejector near the bottom of the module to disconnect it from the BioNex. If it does not easily come free, ensure the screws have been fully loosened and try again.
Once the module has been ejected, continue to slide it out of the slot until it is fully removed.
If sending the module back to MindWare for re-calibration/repair, be sure to pack it carefully to avoid damage to the circuit board.
Install a Module
To install a module in an empty slot, you again only need a small Phillips or flat-head screwdriver.
First, identify the slot where you plan to install your module. If there is an empty panel on that slot, remove it by loosening the screws at the top and bottom.
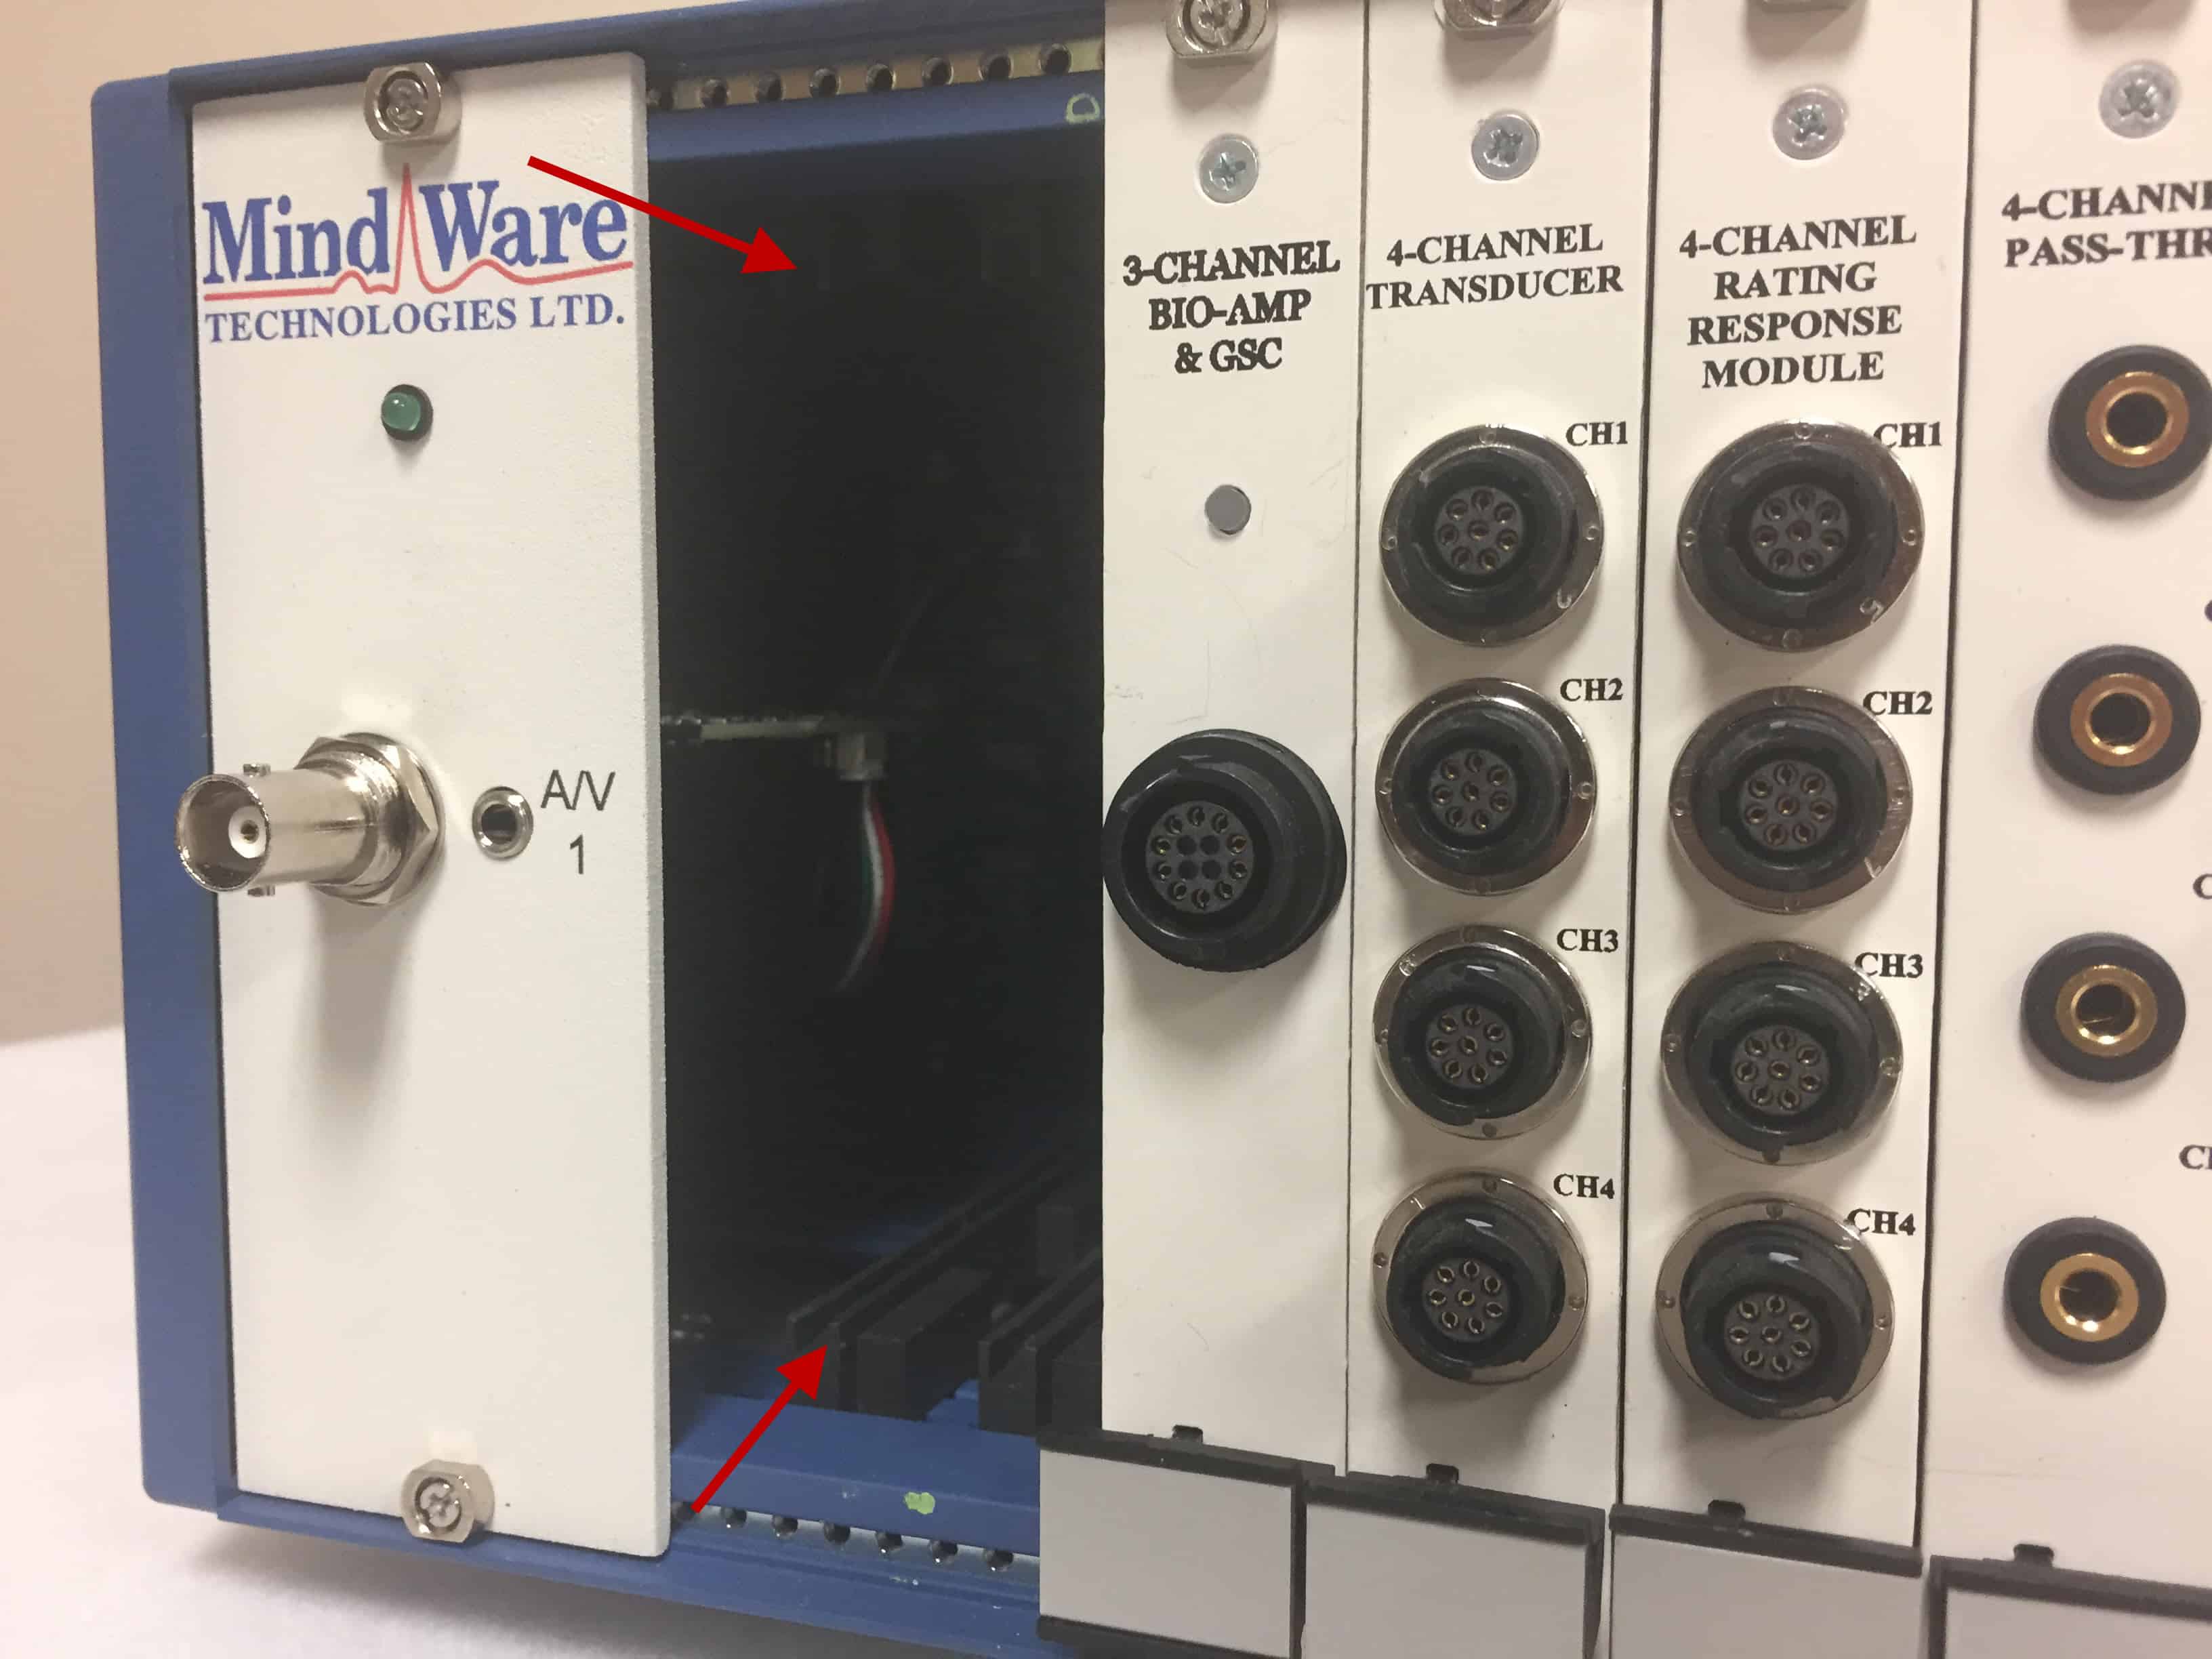
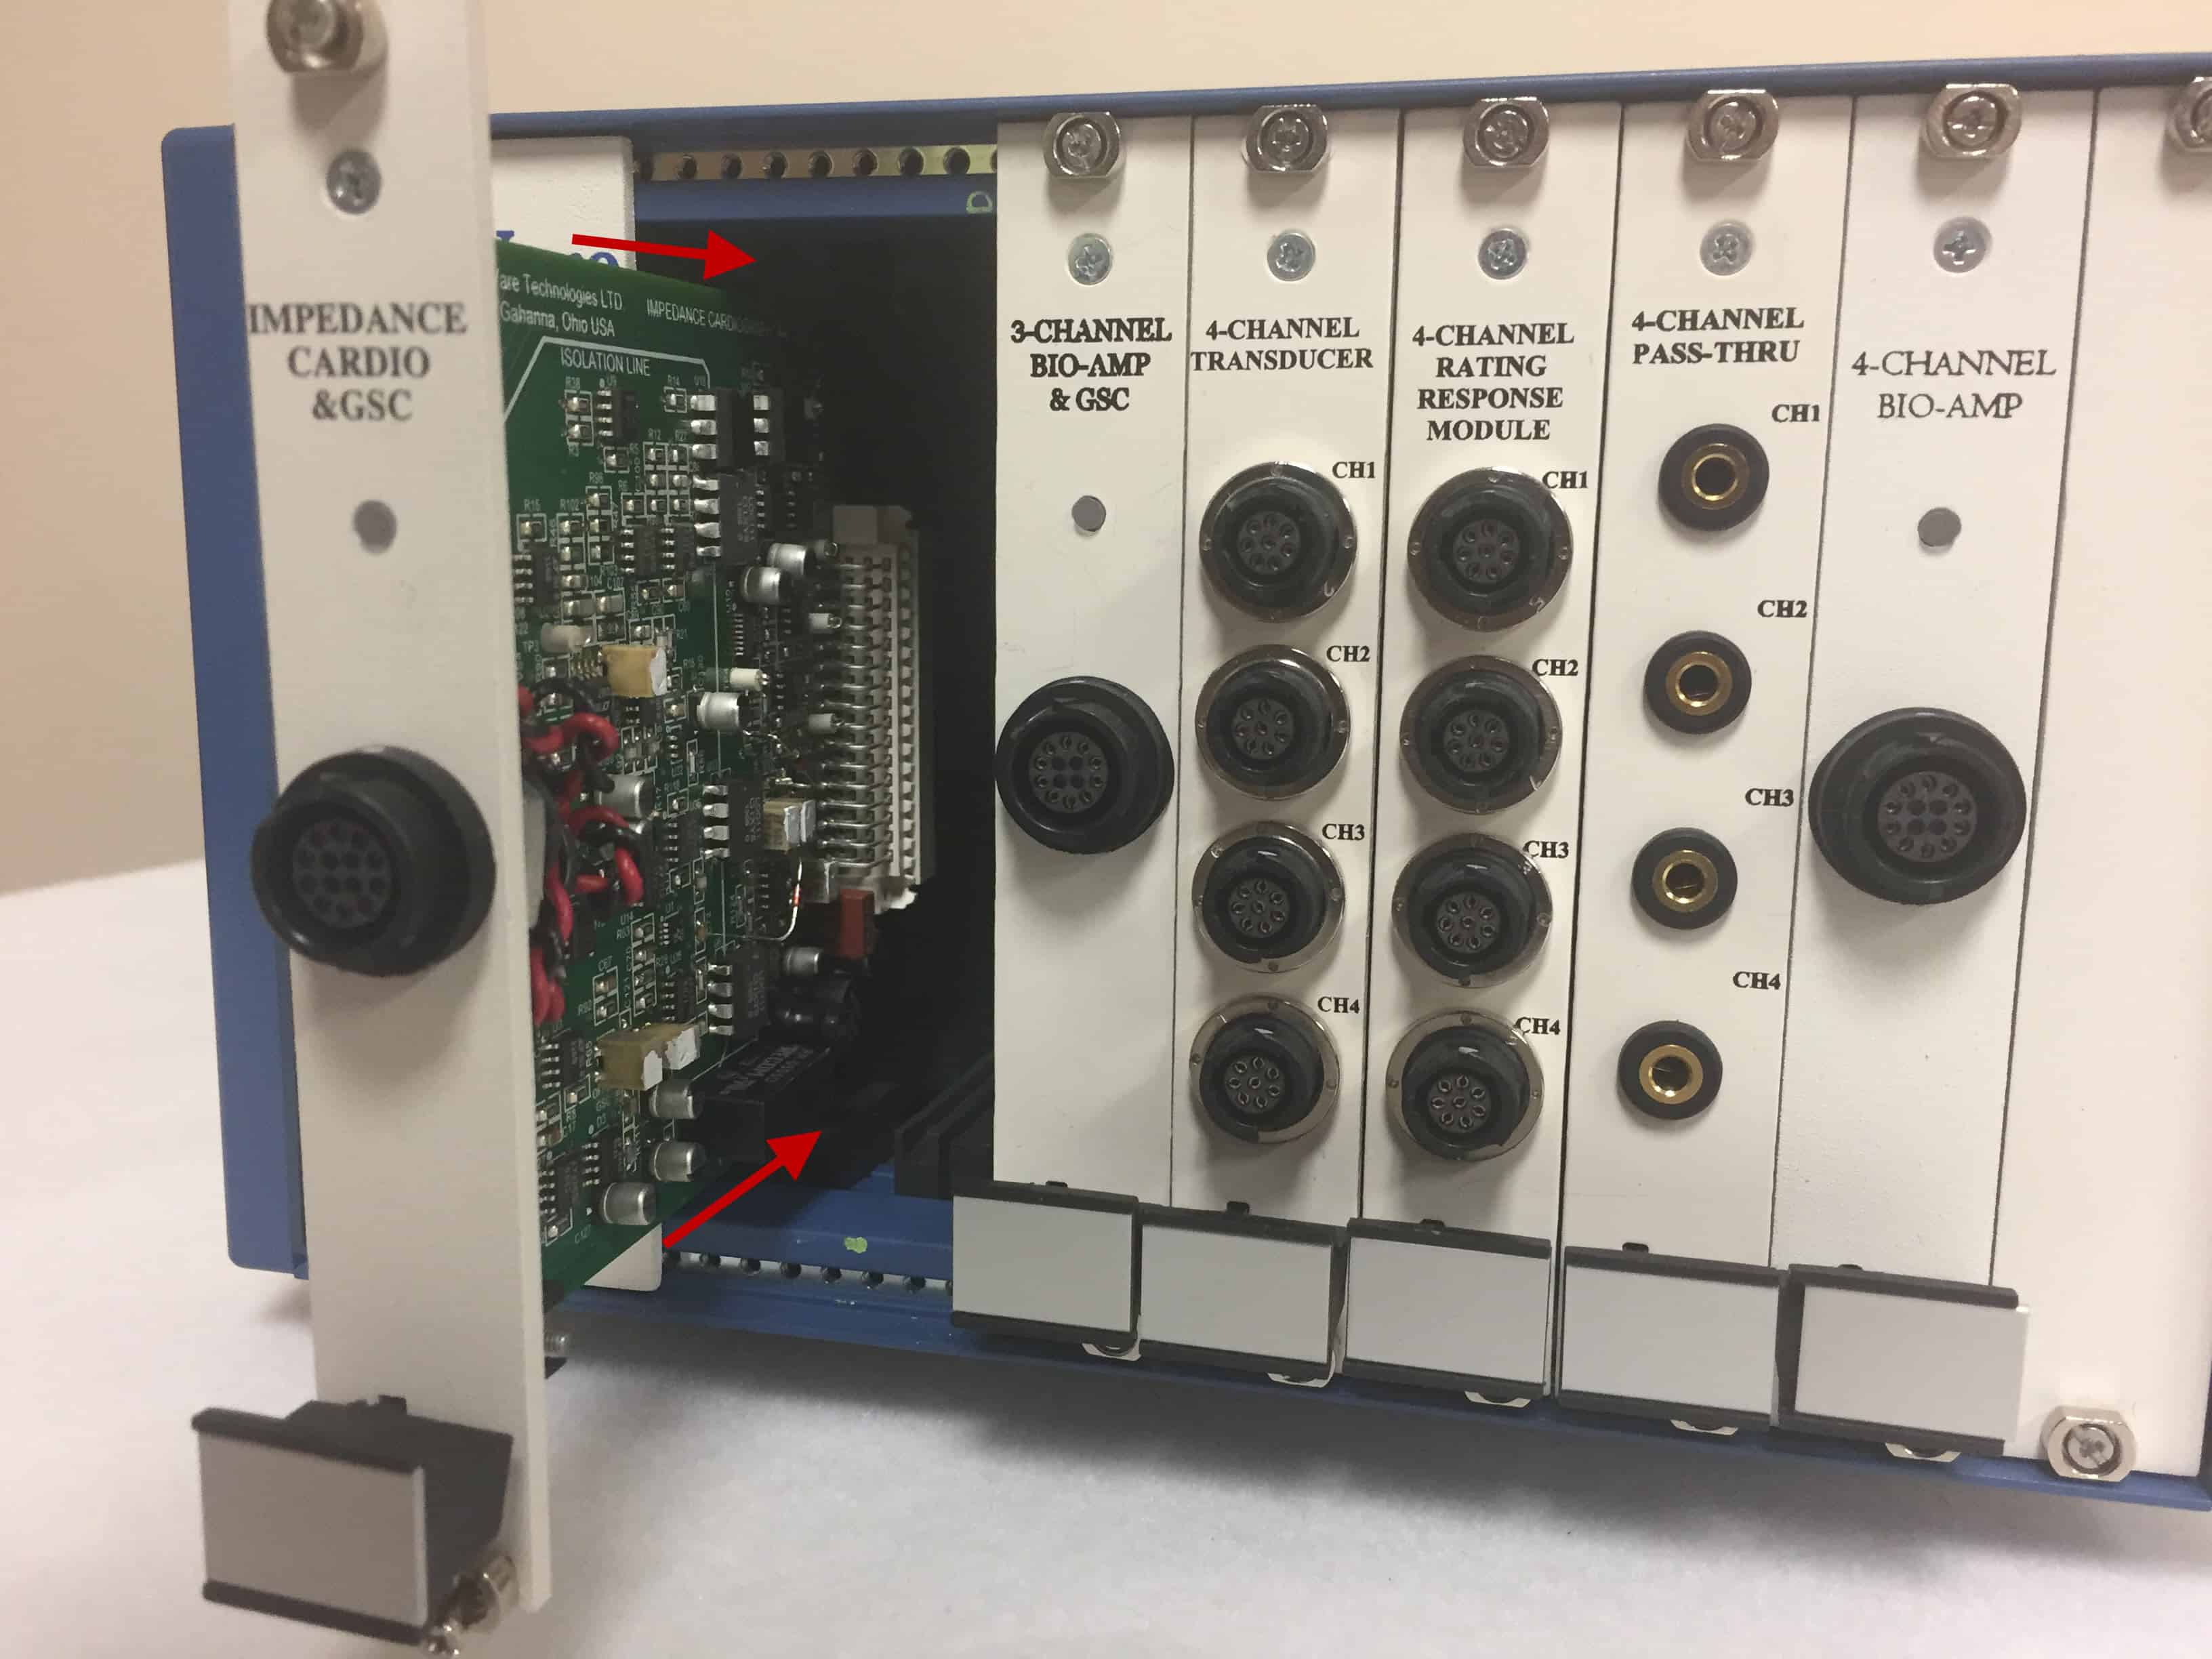
Next, locate the grey grooves at the top and bottom of the slot. These are used to guide the module into place.
Take the module and line up the circuit board with the grey grooves. When inserted properly, the module should slide easily into the BioNex.
When the module is mostly inserted, press firmly on the front of it to connect it to the BioNex. You will know it is properly installed when it sits flush with the other modules and the ejector is in the upright position.
Finish installing the module by tightening the screws at the top and bottom.

