This page describes the process of adding a virtual monitor to your Windows PC. This can be helpful when you are attempting conducting eye tracking or stimulus presentation studies, for example. These types of software will often require that there is a participant and experimenter view of the experiment which creates the need for adding another monitor.
Download, Installing, and Enabling a Virtual Monitor
Note: This process will require that you have administrative privileges’ on your PC. If you do not have administrative access, please contact your IT department so that they may complete the installation.
Step 1: Download this zipped folder. Once that is downloaded right click on the zipped folder and unzip the folder to your desktop.
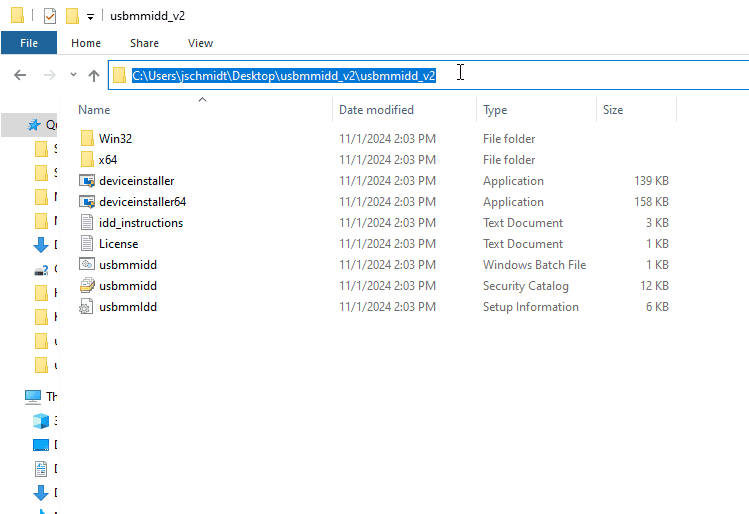
Step 2: Find the unzipped folder and copy the directory file path.
Step 3: Go to Windows search bar and type in “about your PC” and select the option at the top. Once that is open, look under the System type and see if you have a 64 or 32 bit operating system.
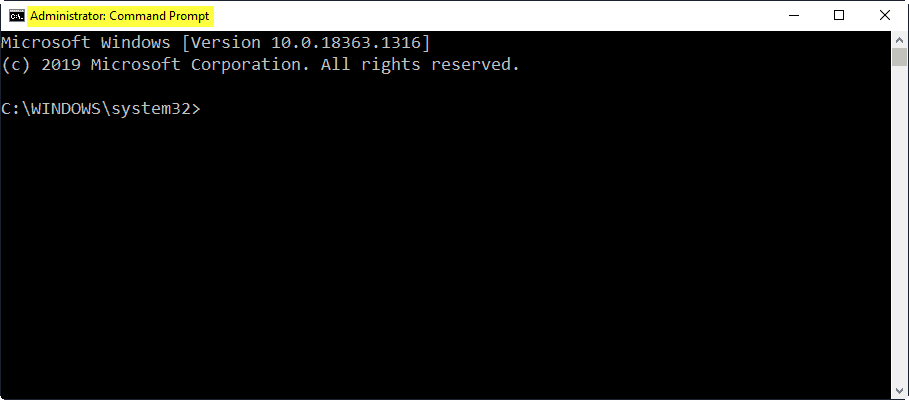
 Step 4: Return to the Windows search bar and type in “CMD” and select Run as Administrator. Click yes if a prompt appears.
 Note: If you do not see “Administrator: Command Prompt” at the top of your Command Prompt screen, then you are not in administrator mode.
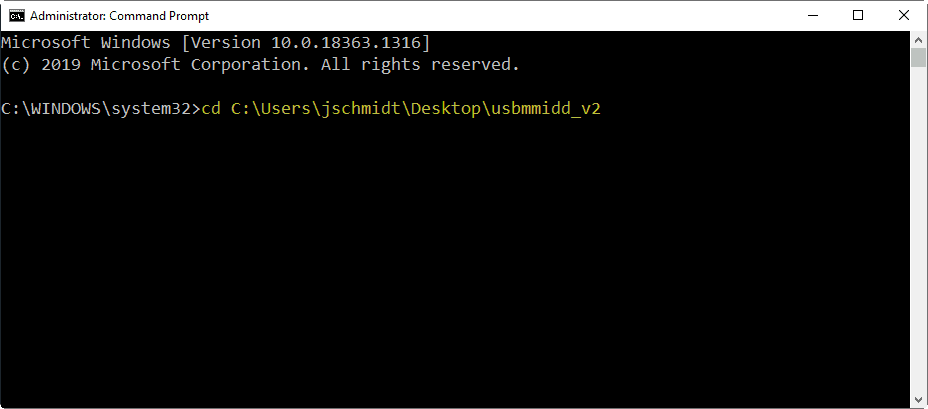
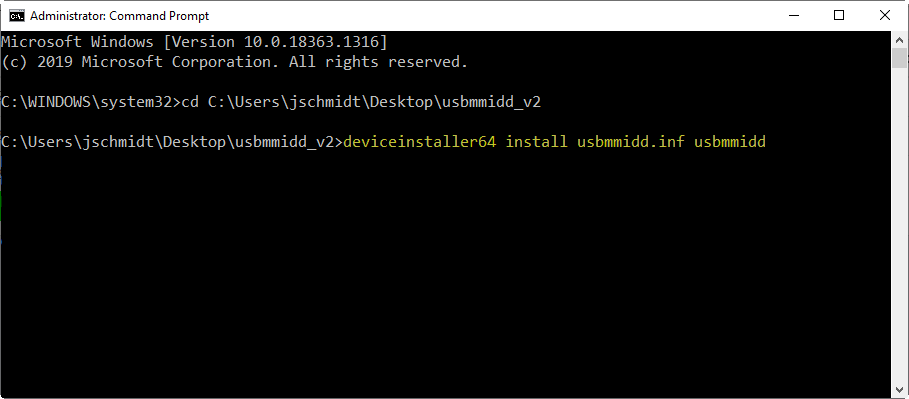
Step 5: In the Command Prompt, type in “cd”, insert a single space, and then paste the directory copied in Step2. Click enter. An example of this string is “cd C:\Users\jschmidt\Desktop\usbmmidd_v2”.
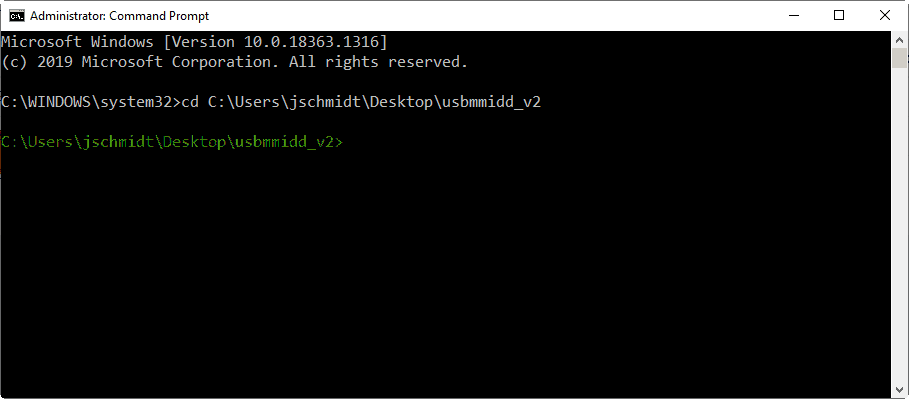
Step 6: Once you click enter, it will take you to the directory of that file path in Command Prompt.
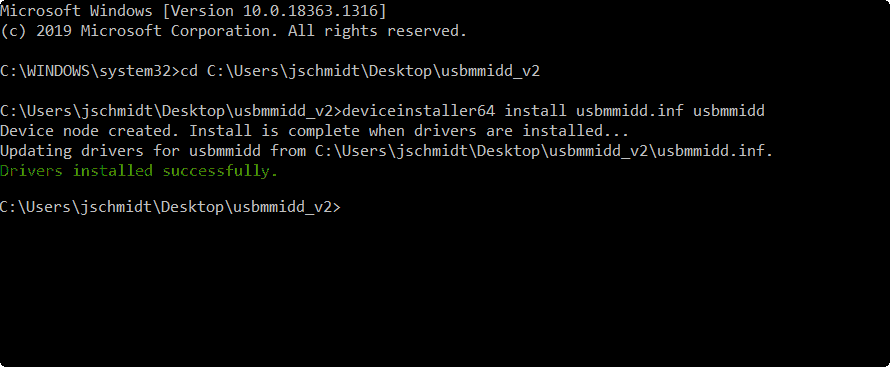
Step 7: Now type in “deviceinstaller64 install usbmmidd.inf usbmmidd” if you are using a 64-bit operating system.
Note: If you are using a 32-bit operating system you will type in “deviceinstaller install usbmmidd.inf usbmmidd”. For the remainder of this article, all of the commands will assume you have a 64-bit operating system. If you have a 32-bit operating system, enter the command without “…64” at the end of each command.
Click enter. You should now see that the “Drivers installed successfully.” within the Command Prompt window.
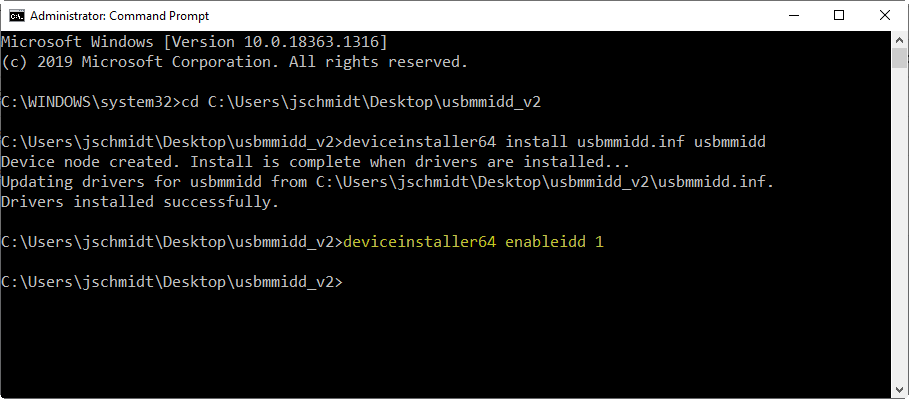
Step 8: Now type in “deviceinstaller64 enableidd 1” and click enter.
You may hear the Windows sound for when a new USB device is added and your screen may flash a few times.
A virtual monitor should now be added to Windows. You can run the above command up to four times to add additional displays.
Confirming Virtual Monitor Addition
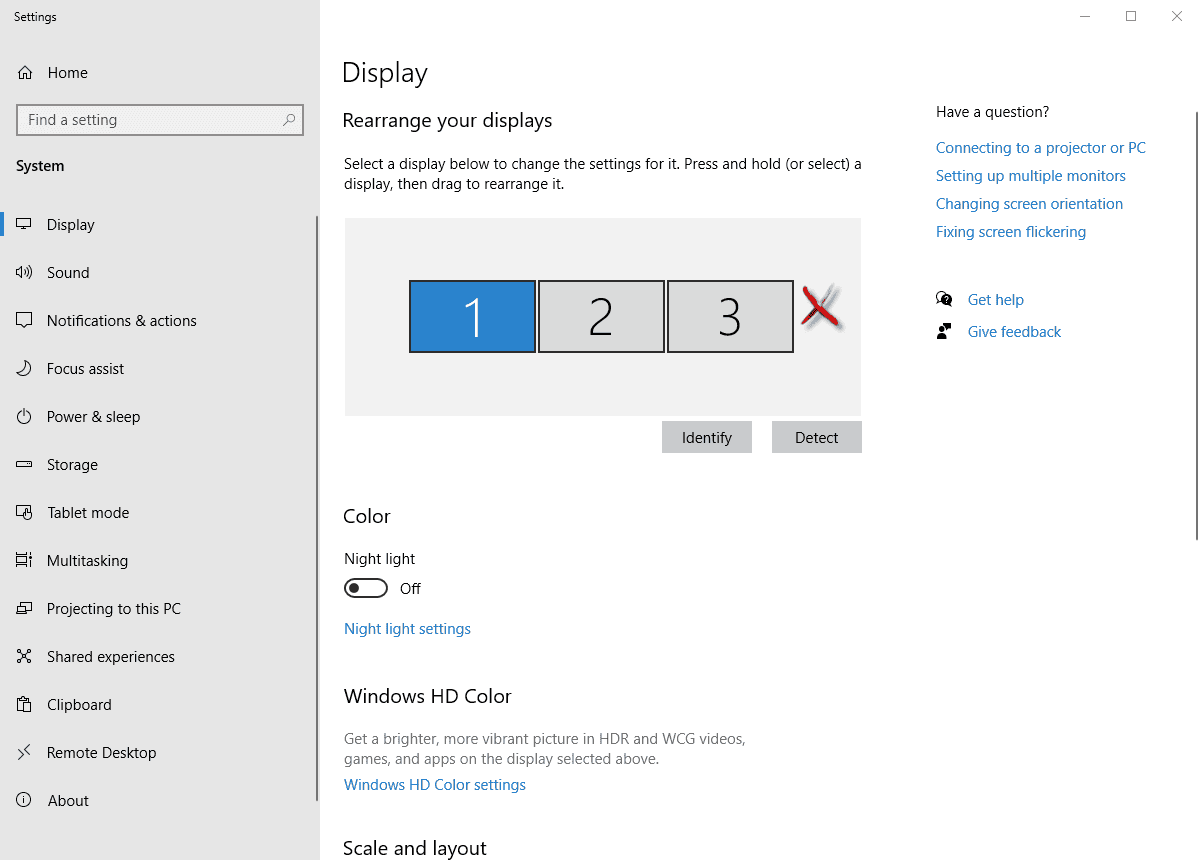
Step 9: To ensure you have successfully added a virtual monitor, right click on your desktop and select the “Display settings” option.
You should now see an additional monitor within your Display settings window. You are now able to change the order of your monitors and adjust the resolution of the virtual monitor.
Disabling a Virtual Monitor
Step D1: Return to the Windows search bar and type in “CMD” and select Run as Administrator. Click yes if a prompt appears.
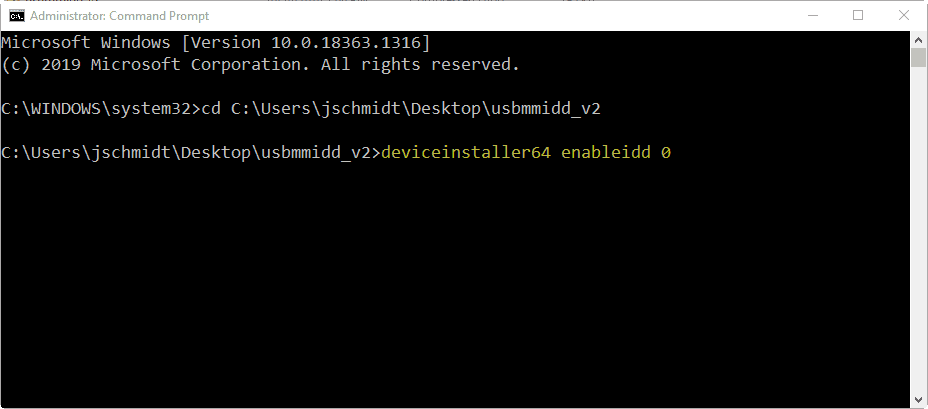
Step D2: Paste the usbmmidd… folder path you put into the Command Prompt on Step 5. In my example, my command was “cd C:\Users\jschmidt\Desktop\usbmmidd_v2”.
Step D3: Type in “deviceinstaller64 enableidd 0” and click enter.
The virtual monitor should now be disabled.
Note: If you added more than one virtual monitor, repeat these steps until all virtual monitors are disabled.
Confirming a Virtual Monitor was Disabled
Step D4: To ensure you have successfully removed a virtual monitor, right click on your desktop and select the “Display settings” option.
The virtual monitor should now be missing within your Display settings window.
Uninstalling the Virtual Monitor Application
Step UN1: Return to the Windows search bar and type in “CMD” and select Run as Administrator. Click yes if a prompt appears.
Step UN2: Paste the usbmmidd… folder path you put into the Command Prompt on Step 5 and RE2. In my examples, my command was “cd C:\Users\jschmidt\Desktop\usbmmidd_v2”.
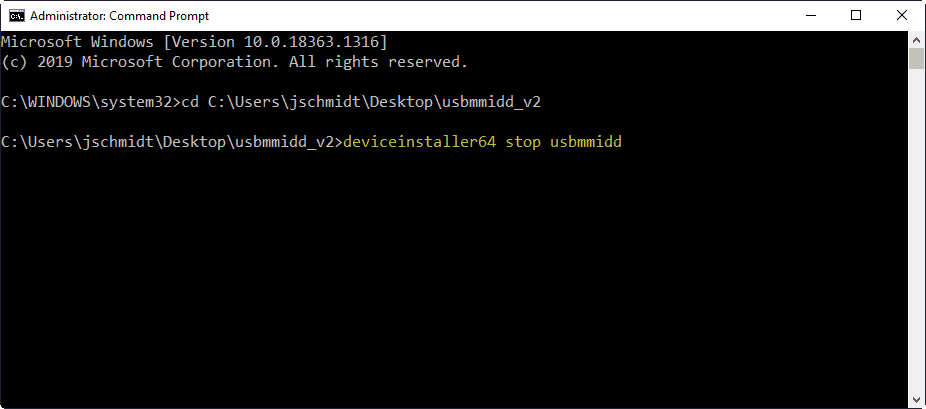
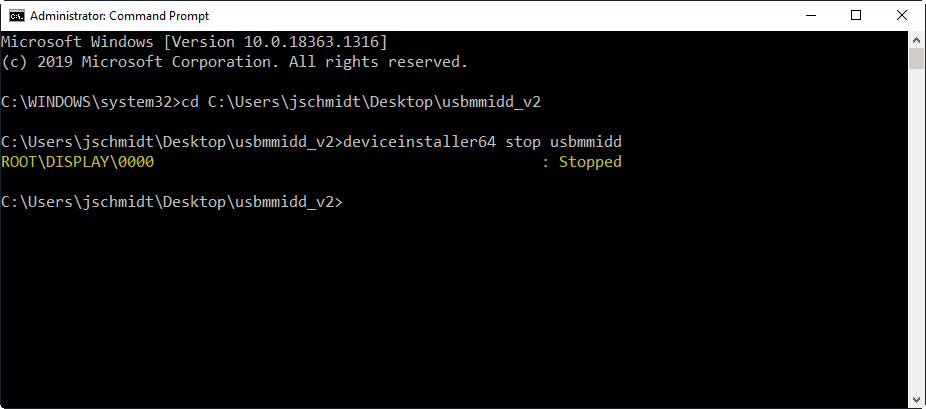
Step UN3: Type in “deviceinstaller64 stop usbmmidd” and click enter.
You may hear the Windows sound for when a USB device is removed and your screen may flash a few times. You should also see “Root\Display\0000 … : Stopped” appear within the Command Prompt window.
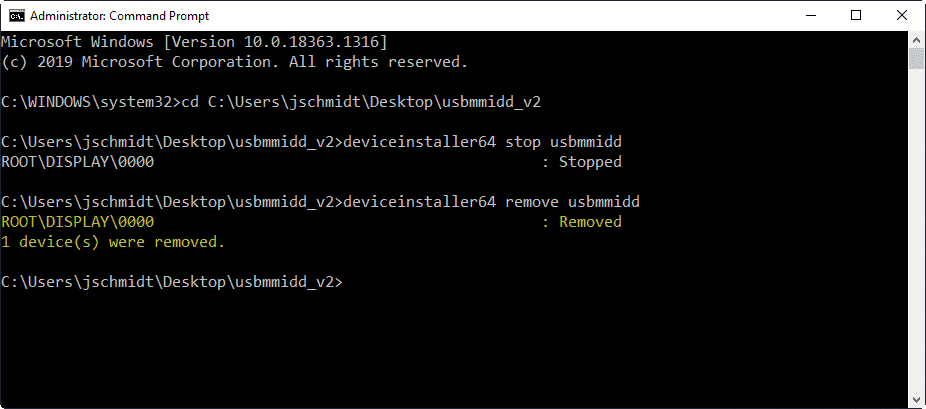
Step UN4: Type “deviceinstaller64 remove usbmmidd” and click enter.
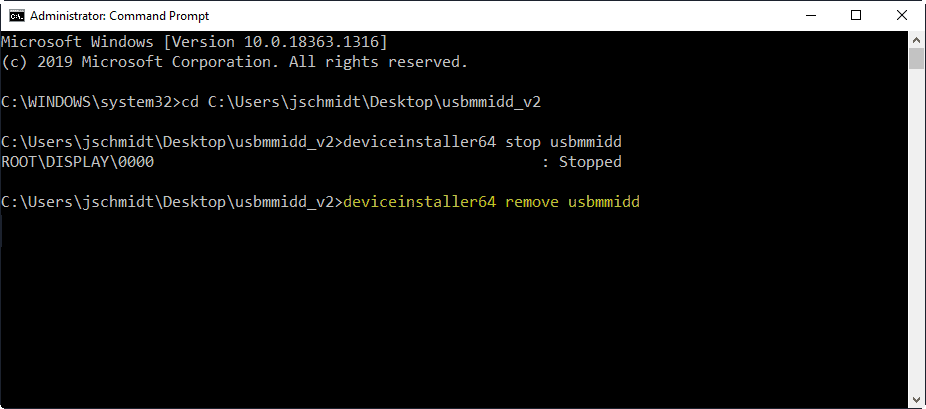 You should now see “Root\Display\000 … Removed” appear within the Command Prompt window.
Troubleshooting
If you upgrade your operating system, the virtual monitor application may not function. Follow the below steps to resolve this issue.
Updating your Virtual Monitor
Step UP1: Open the usbmmidd application by typing “usbmmidd” into your Windows search bar.
This should open your Command Prompt window and automatically download the latest drivers.
Step UP2: Within the Command Prompt window, you should see the text “Click any button to install drivers”. Press the enter key and the latest drivers should be installed.

