This article will discuss configuring an Axis Camera with Mangold VideoSyncPro, using a MindWare default camera configuration that has already been set up. Before completing the following steps, be sure to plug in your camera(s) and set up your network.
Note: For more information on installing and activating VideoSyncPro, please see this article.
Creating a Scenario
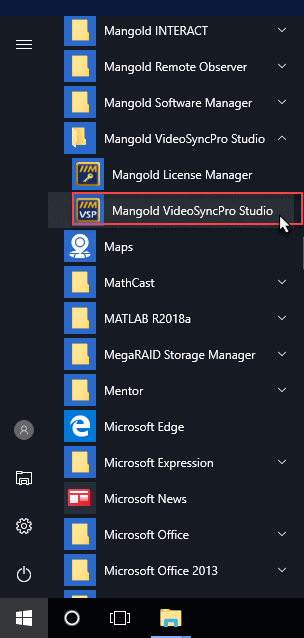
Open Mangold VideoSyncPro Studio by double-clicking the shortcut on the desktop or navigating to it in the Start menu
Click on the indicated dropdown and select Create New Scenario

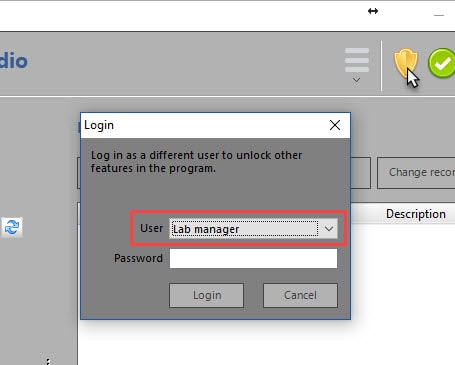
Note: If this option is not available, click on the yellow shield button to the right and login user with permissions, such as Lab Manager, and try again
Adding Video Sources
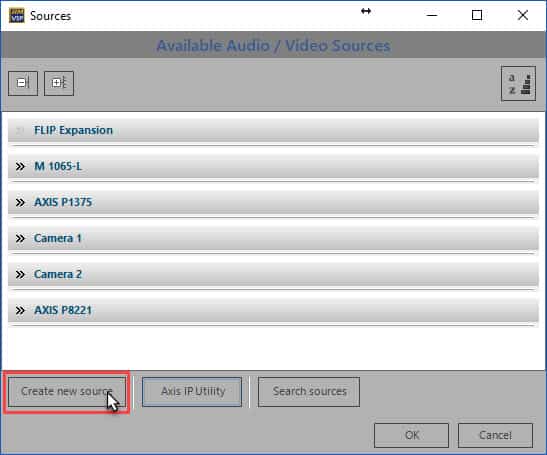
On the Sources window, press “Create new source” to define a new source (i.e. camera)
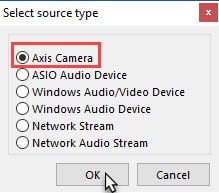
Select “Axis Camera” from the Select source type screen and press “OK”
Included with the camera is a sheet of paper with the IP Address, User name, and Password on it. Locate this information, and fill out the fields on the screen. You will also want to give the Source name something descriptive, such as “Camera 1” or “Subject 1” for analysis purposes.
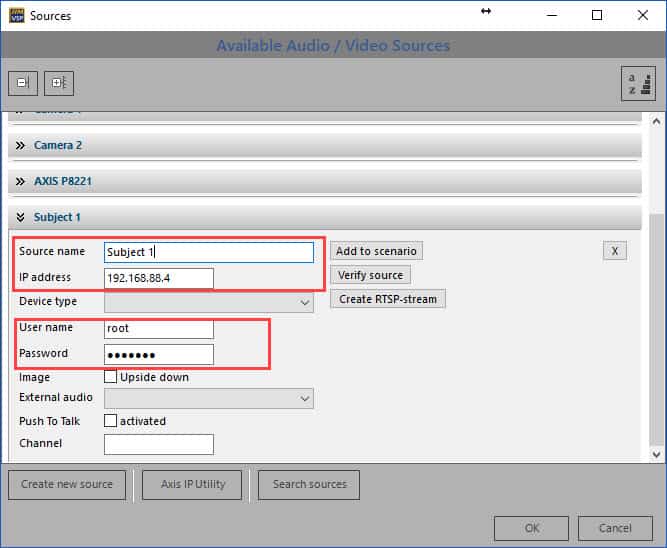
Note: It can sometimes be helpful to also launch the Axis IP Utility to confirm the IP address of the connected cameras
Click “Verify Source” to confirm the entered details are correct.
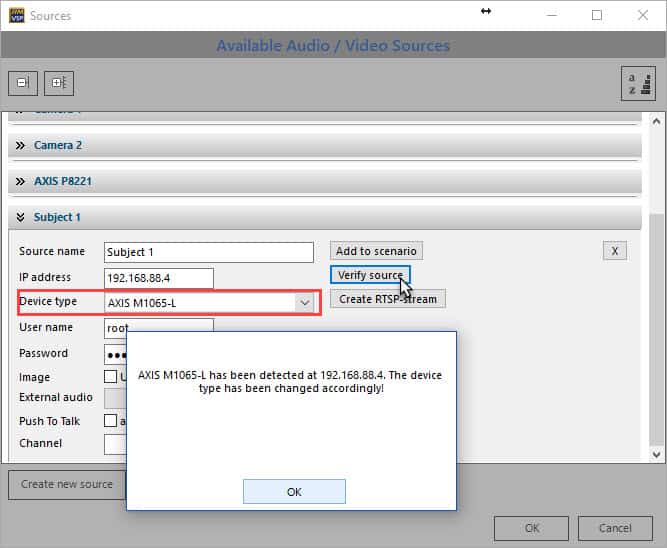
Following successful verification, you will see the Device Type set to the type of camera you are using. Next, press “Add to Scenario” to add it to the current Scenario.
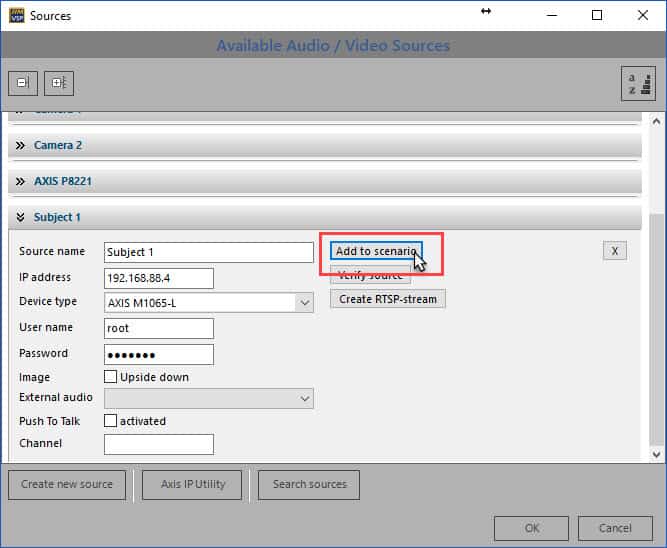
Repeat this process for as many cameras as you are planning to use.
Saving the Scenario
Once all sources have been added, press “OK” to preview the A/V signals.

Confirm that everything looks as expected, and click on the Save icon to save the Scenario
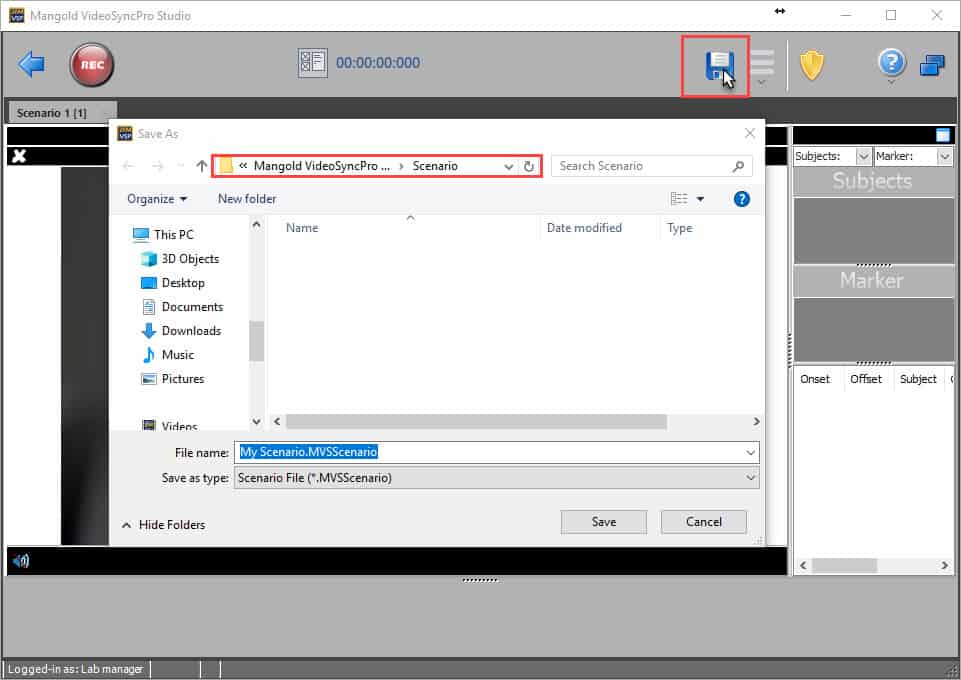
Be sure to save your Scenario in the default Mangold VideoSyncPro Scenario directory
C:\Users\Public\Documents\Mangold VideoSyncPro Studio Data\Scenario
as this is the required location when loading Scenarios in BioLab. Press “Save” to save the file. You can now close VideoSyncPro and open BioLab.
Configuring BioLab
Once the Scenario is complete, now we need to configure BioLab to launch that Scenario when synchronous physiology recording begins. Start by launching BioLab 3.4 either from the Desktop or by navigating to it in the start menu

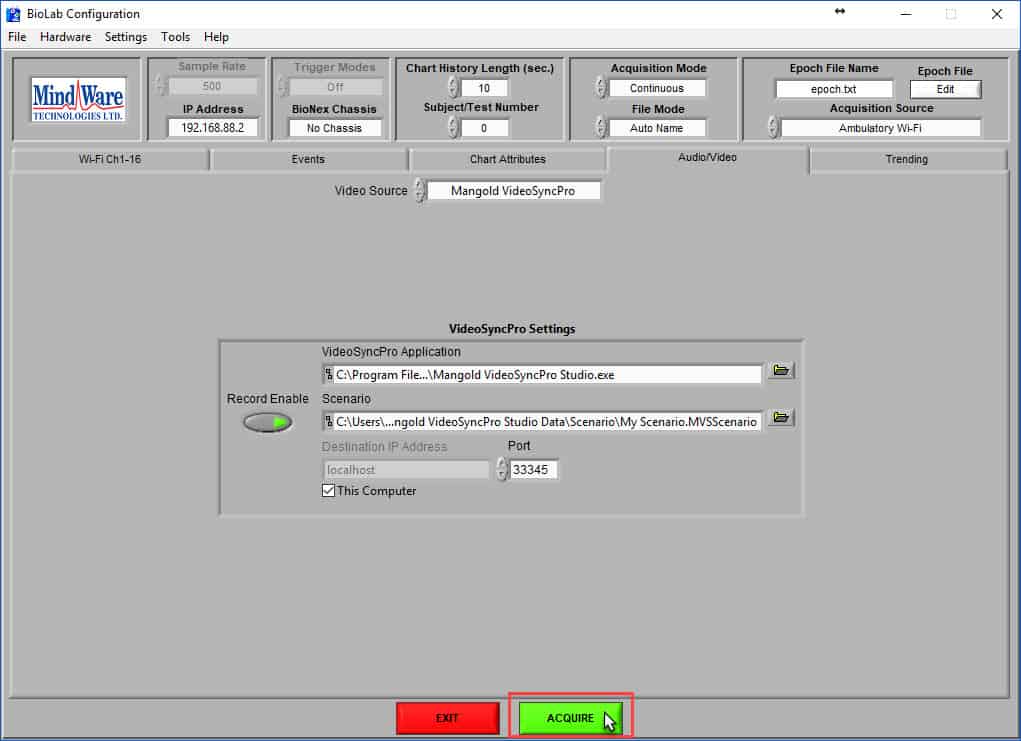
Once BioLab is running, navigate to the Audio/Video tab and select Mangold VideoSyncPro from the “Video Source” drop-down

Three additional settings typically need to be configured here:
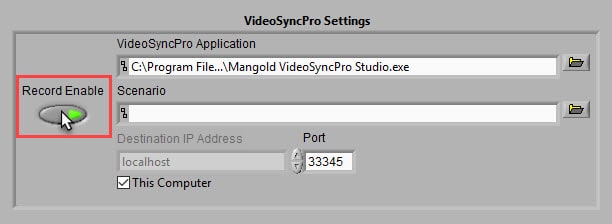
- Enable the Record Enable option
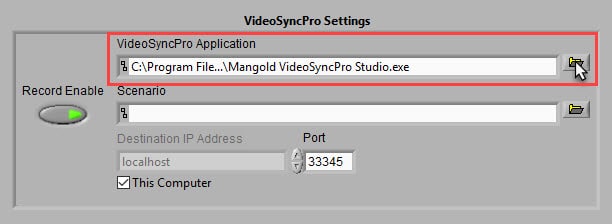
- Locate the VideoSyncPro executable by clicking the folder icon next to the VideoSyncPro Application. This is typically “C:\Program Files\Mangold VideoSyncPro Studio\Mangold VideoSyncPro Studio.exe”
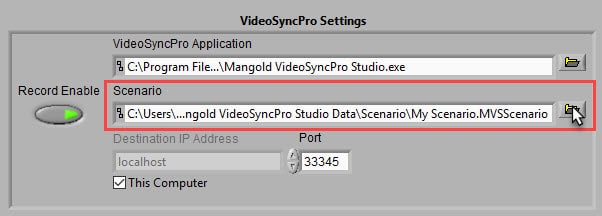
- Locate the Scenario file you wish to use. This file must be located in the default Scenario location as specified above
The remaining settings only need to be modified if you are running VideoSyncPro on a different PC than BioLab, which is not typical.
Acquiring Data
Once BioLab has been configured, press Acquire to proceed to the Acquisition screen.
From here, BioLab will automatically:
- Launch VideoSyncPro and load the specified Scenario
- Start VideoSyncPro recording when acquisition in BioLab starts, and stop it when it stops
- Close VideoSyncPro when returning to the BioLab configuration screen
- Automatically calculate any delays/offsets in the video to be applied during analysis
For more detailed information about VideoSyncPro, please see the official documentation here.